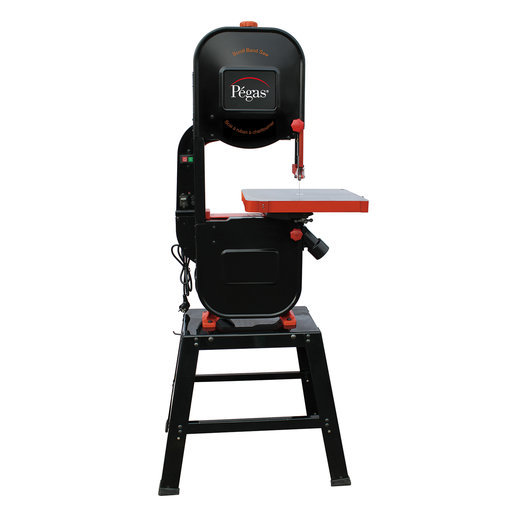
I took a course on making bandsaw puzzle boxes taught by Jeff Vollmer. The course was at Marc Adams School of Woodworking last week. Great course that taught me how to use a bandsaw. Would love to own one. A number of bandsaws were utilized, but the best by far was the Pégas 14" bandsaw.
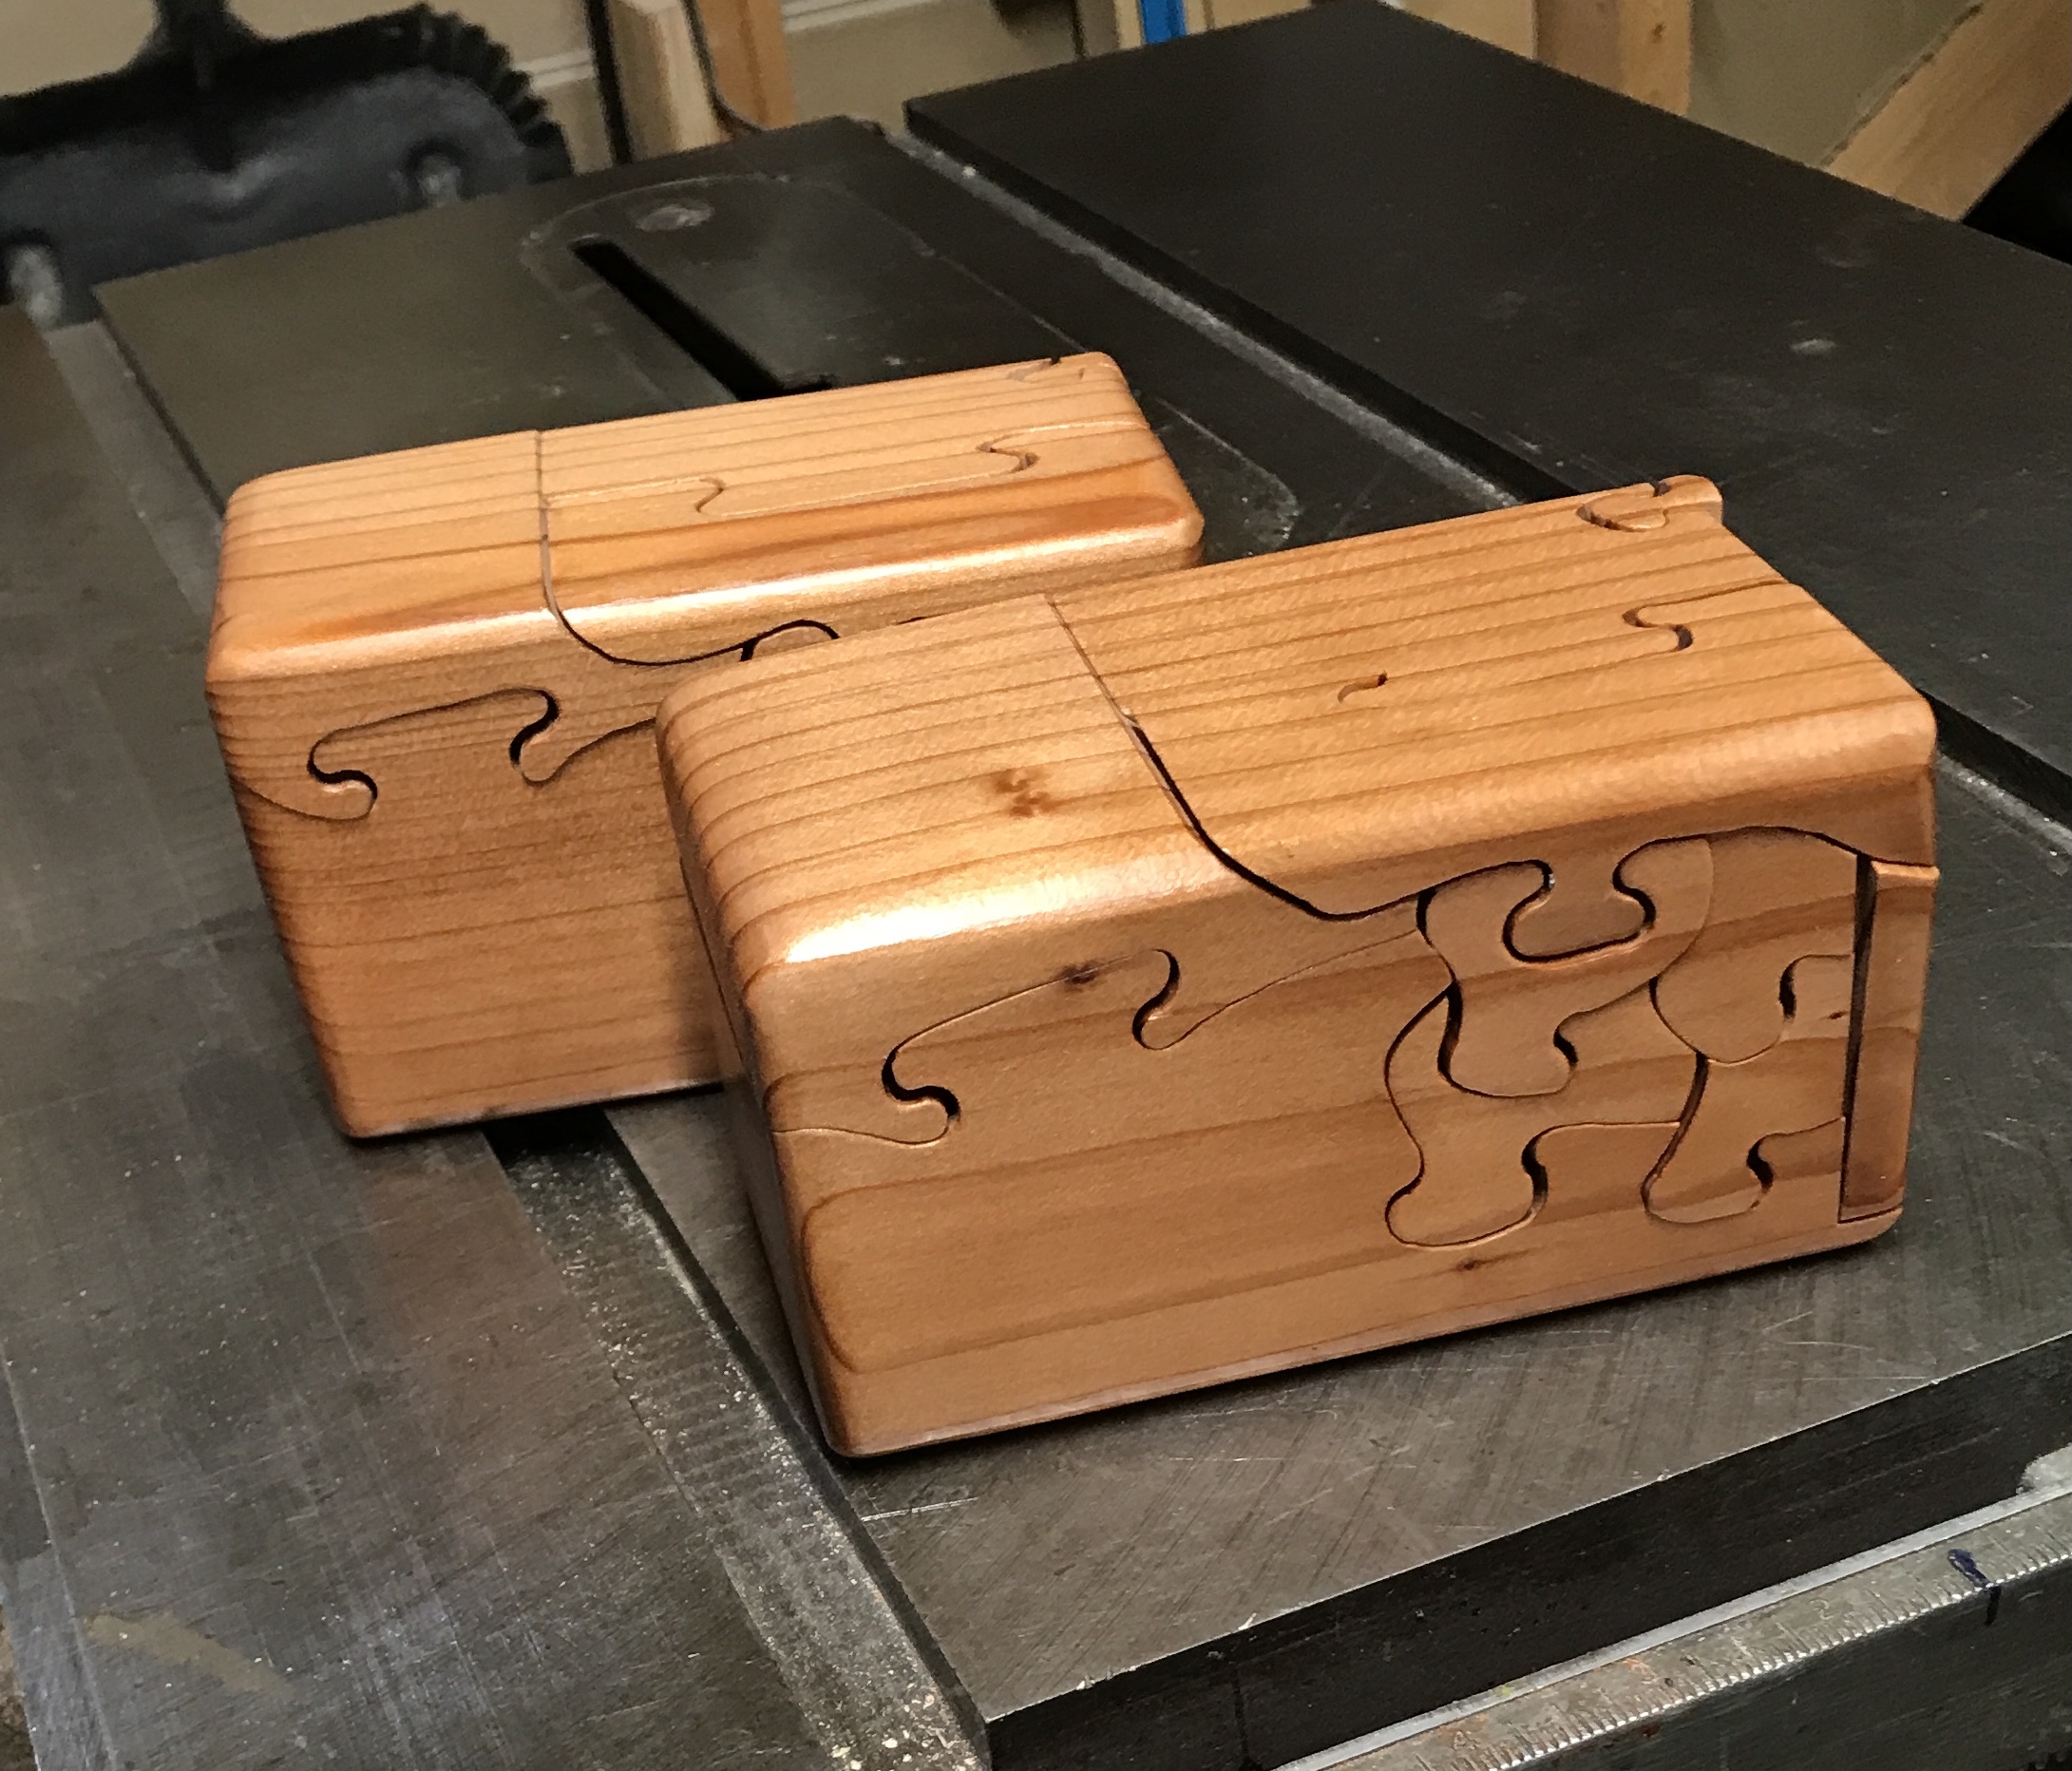
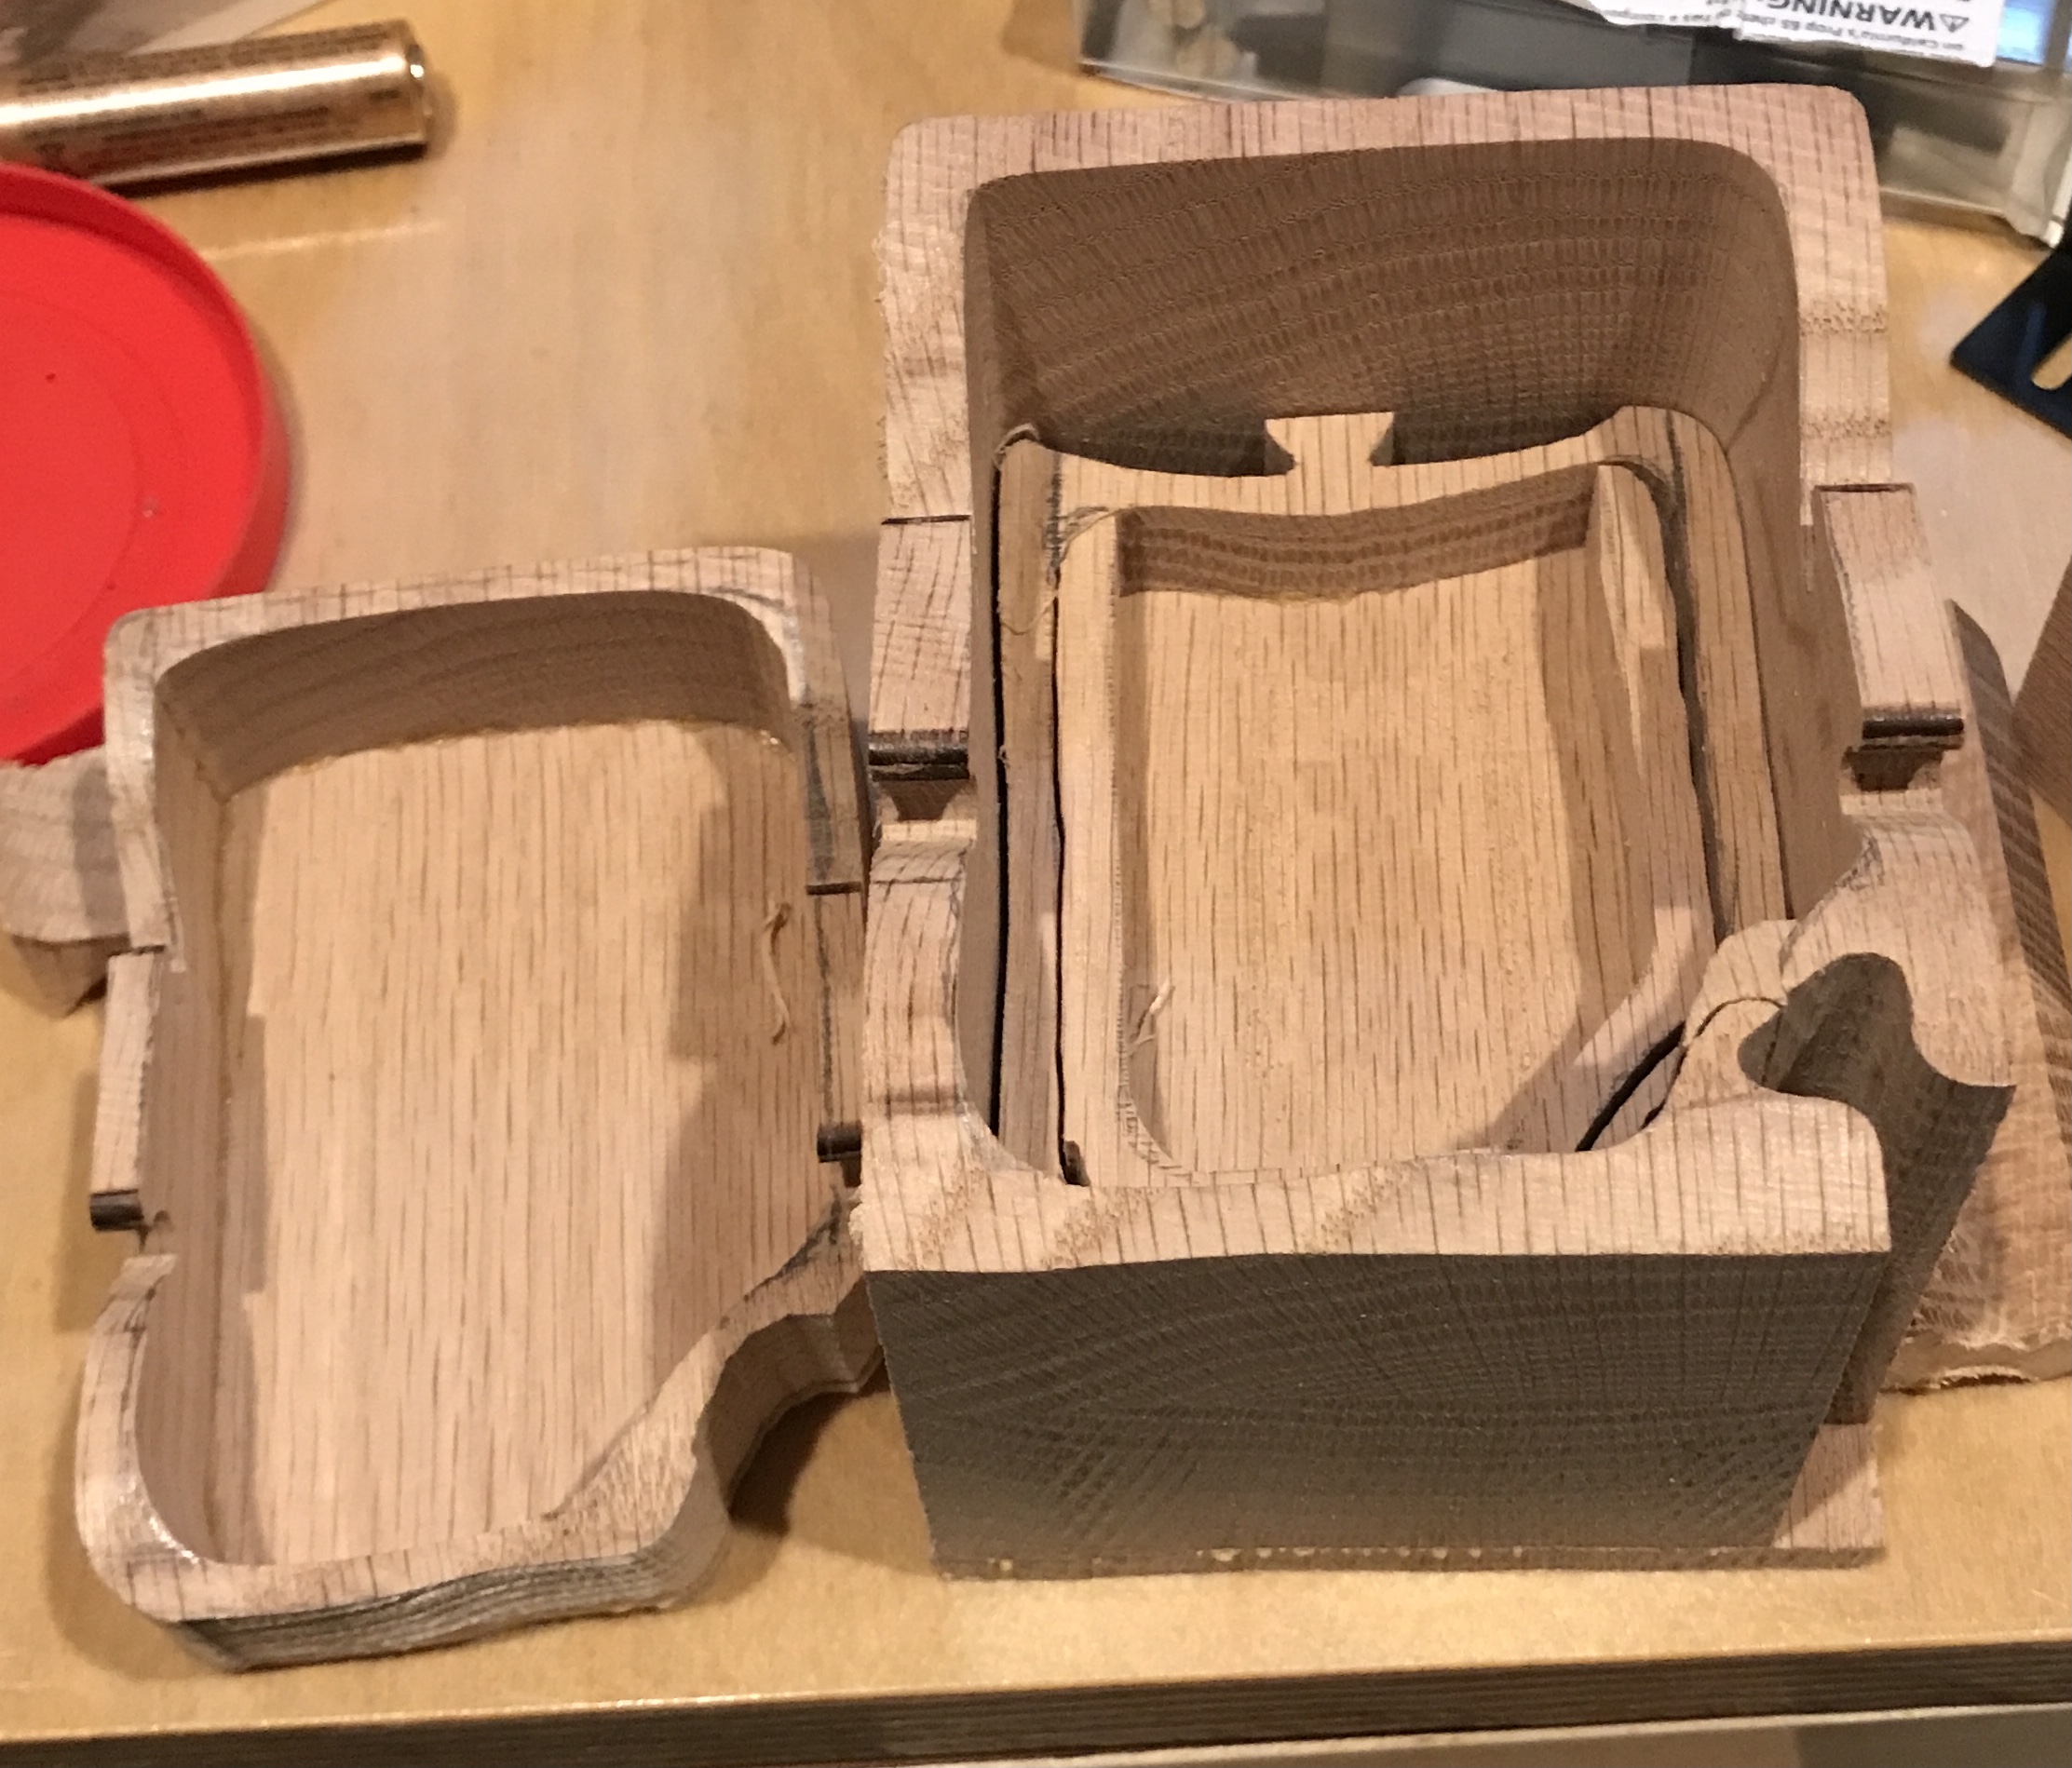
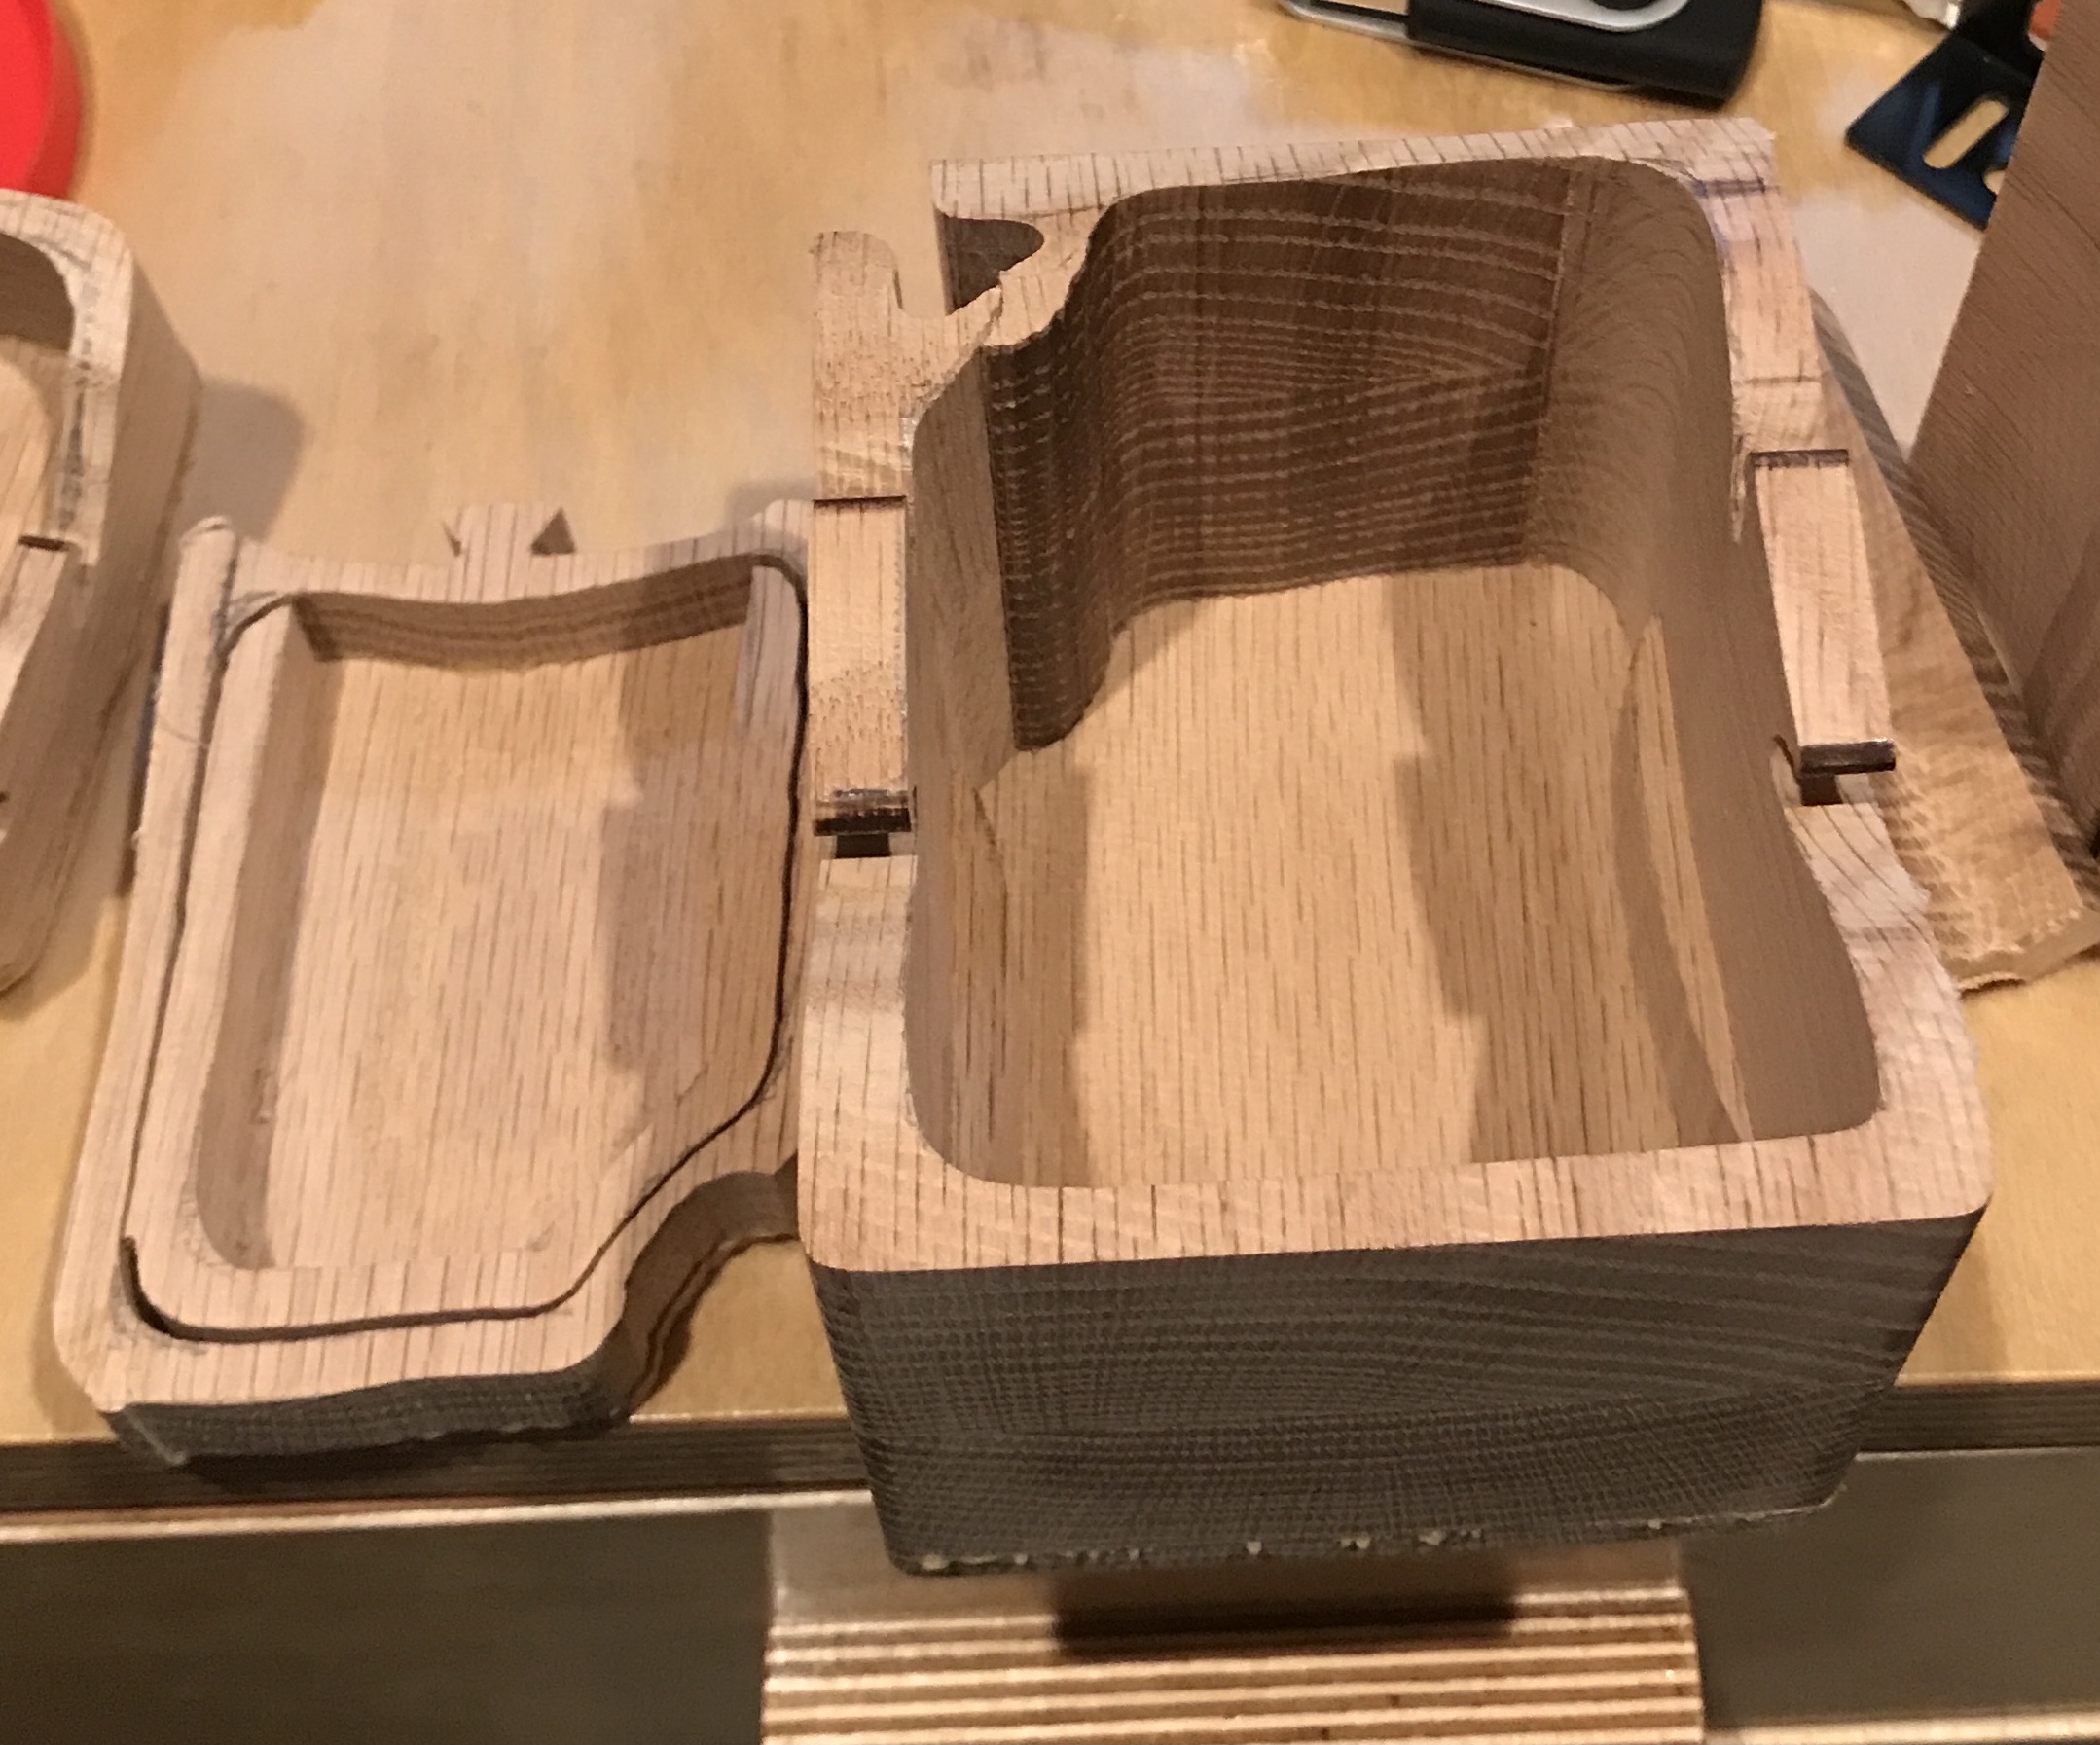
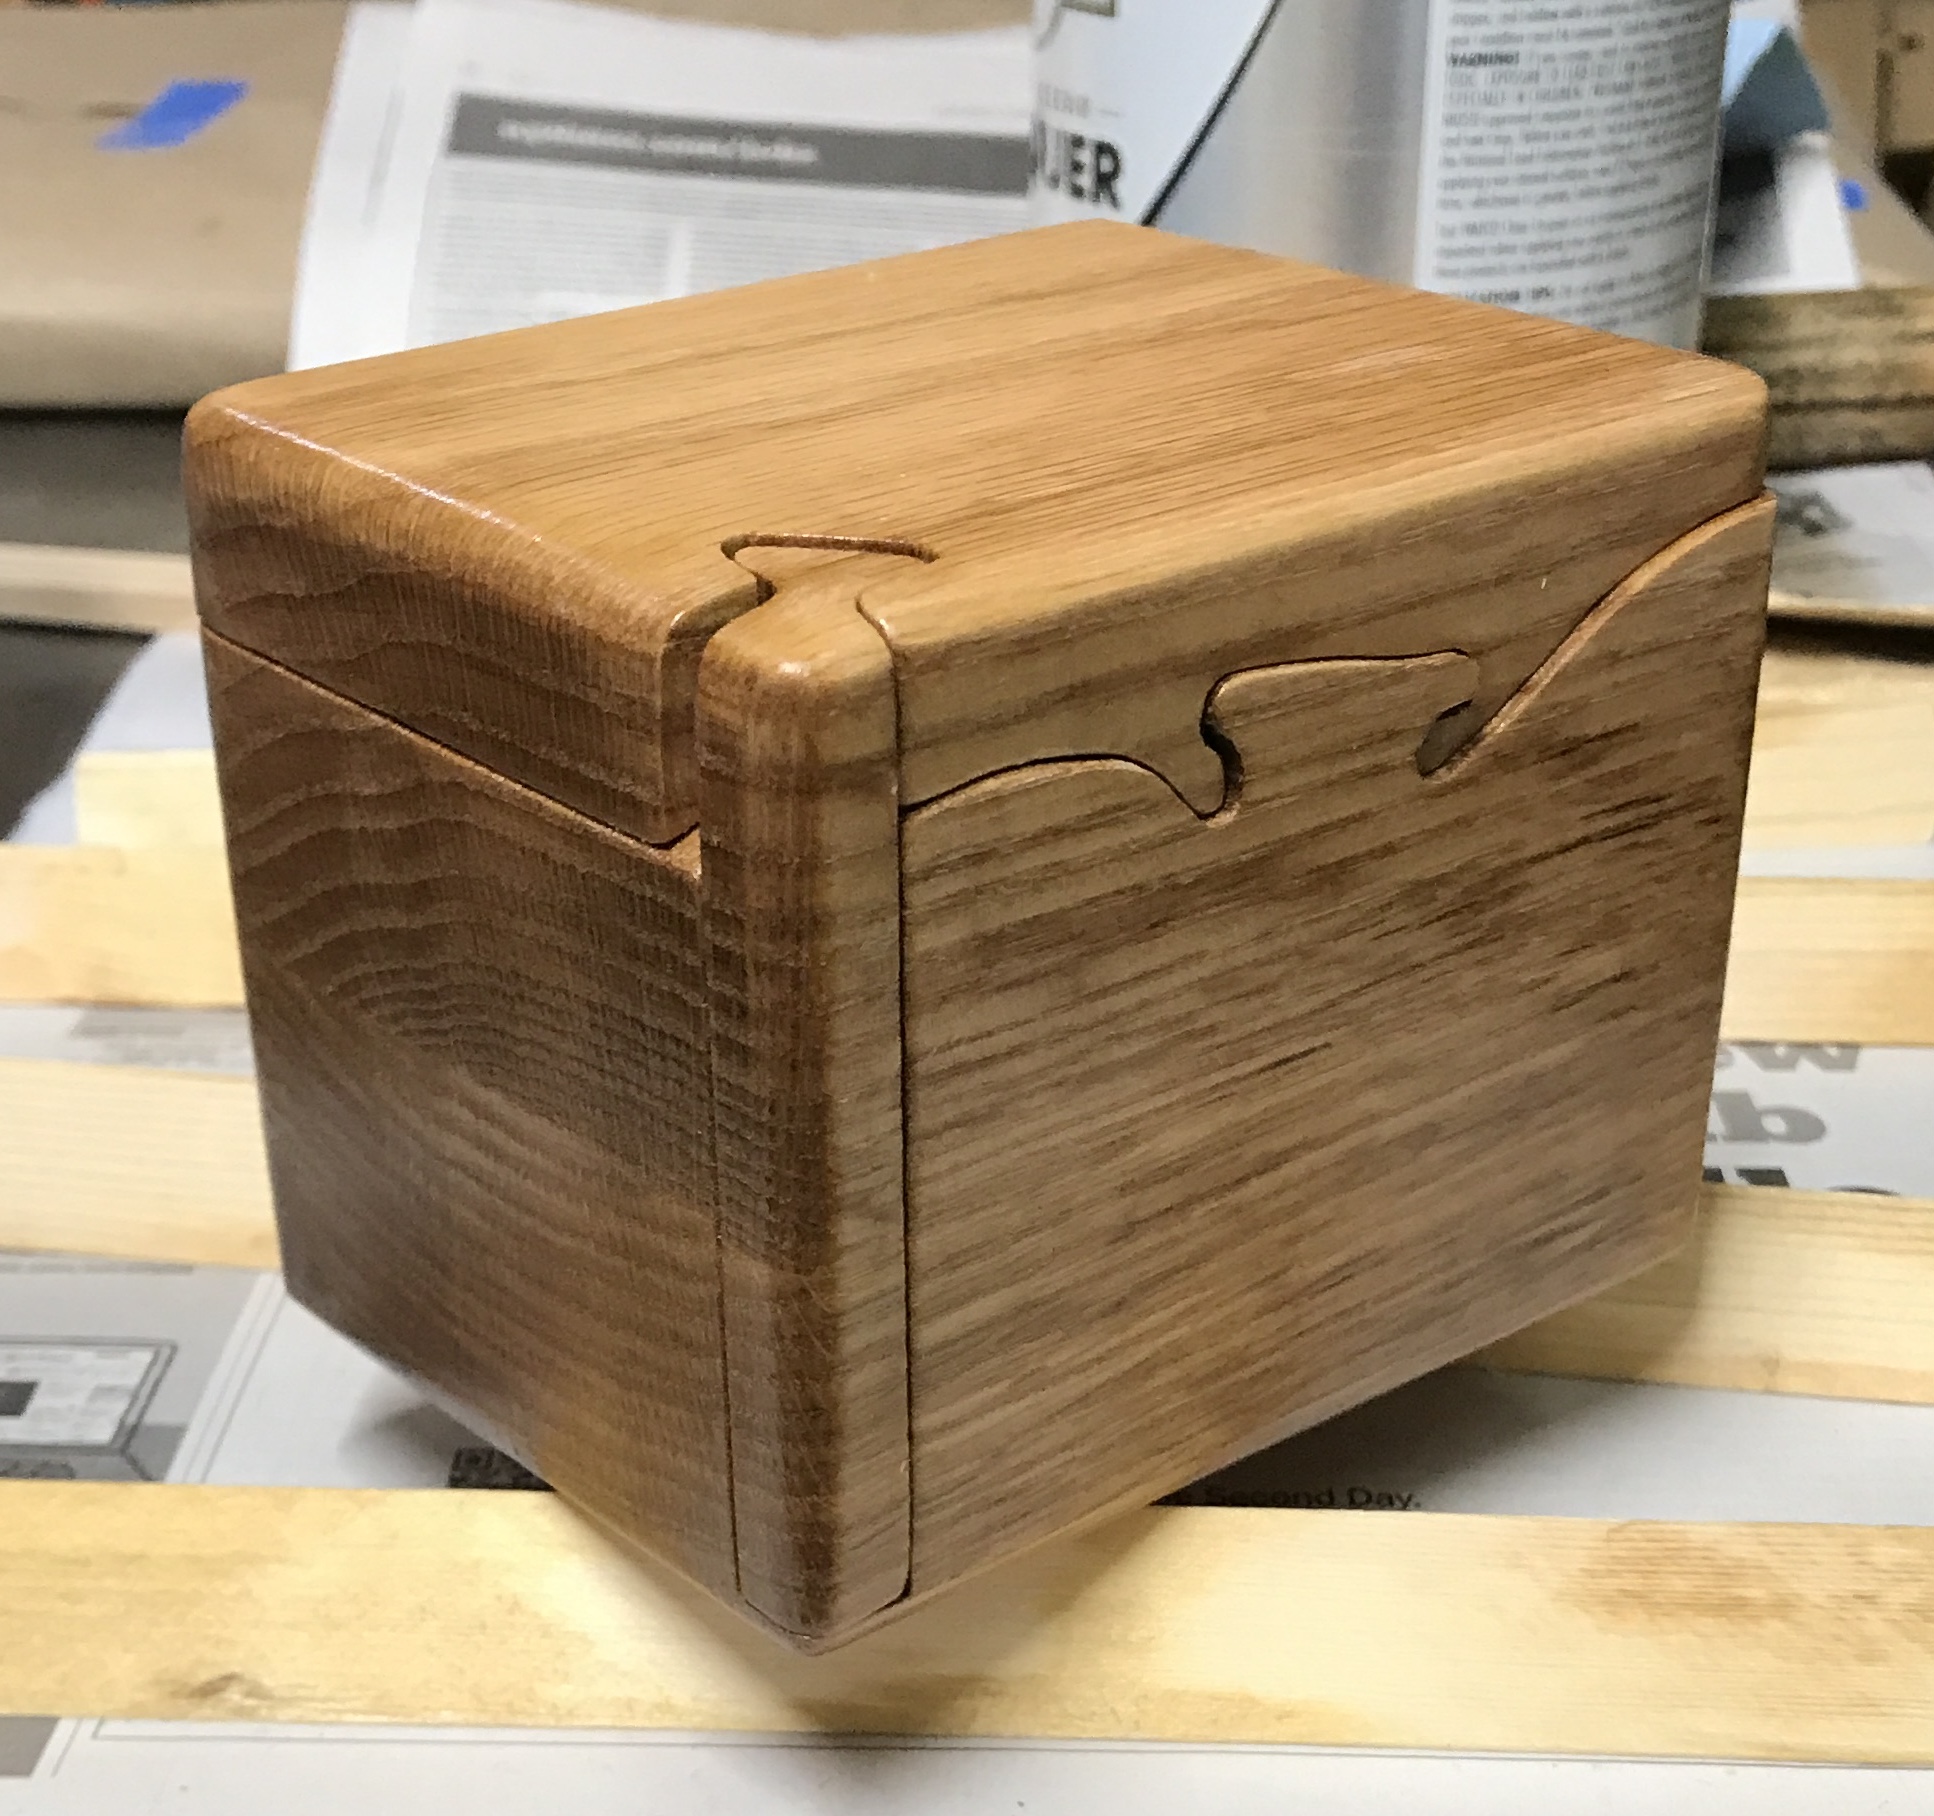
Many boxes were made. The first three were what I call 'key and slide' puzzles. A vertical key is cut, followed by cutting a horizontal sliding piece. The nicest box made uses magnets to hide two boxes. It is two levels and has curved drawers in both levels. The two hidden drawers are behind a large semi-circular drawer. A different type of hidden drawer was also made. The drawer can be seen, but needs another piece removed, pulling out a pin allowing a spring to push the drawer out.
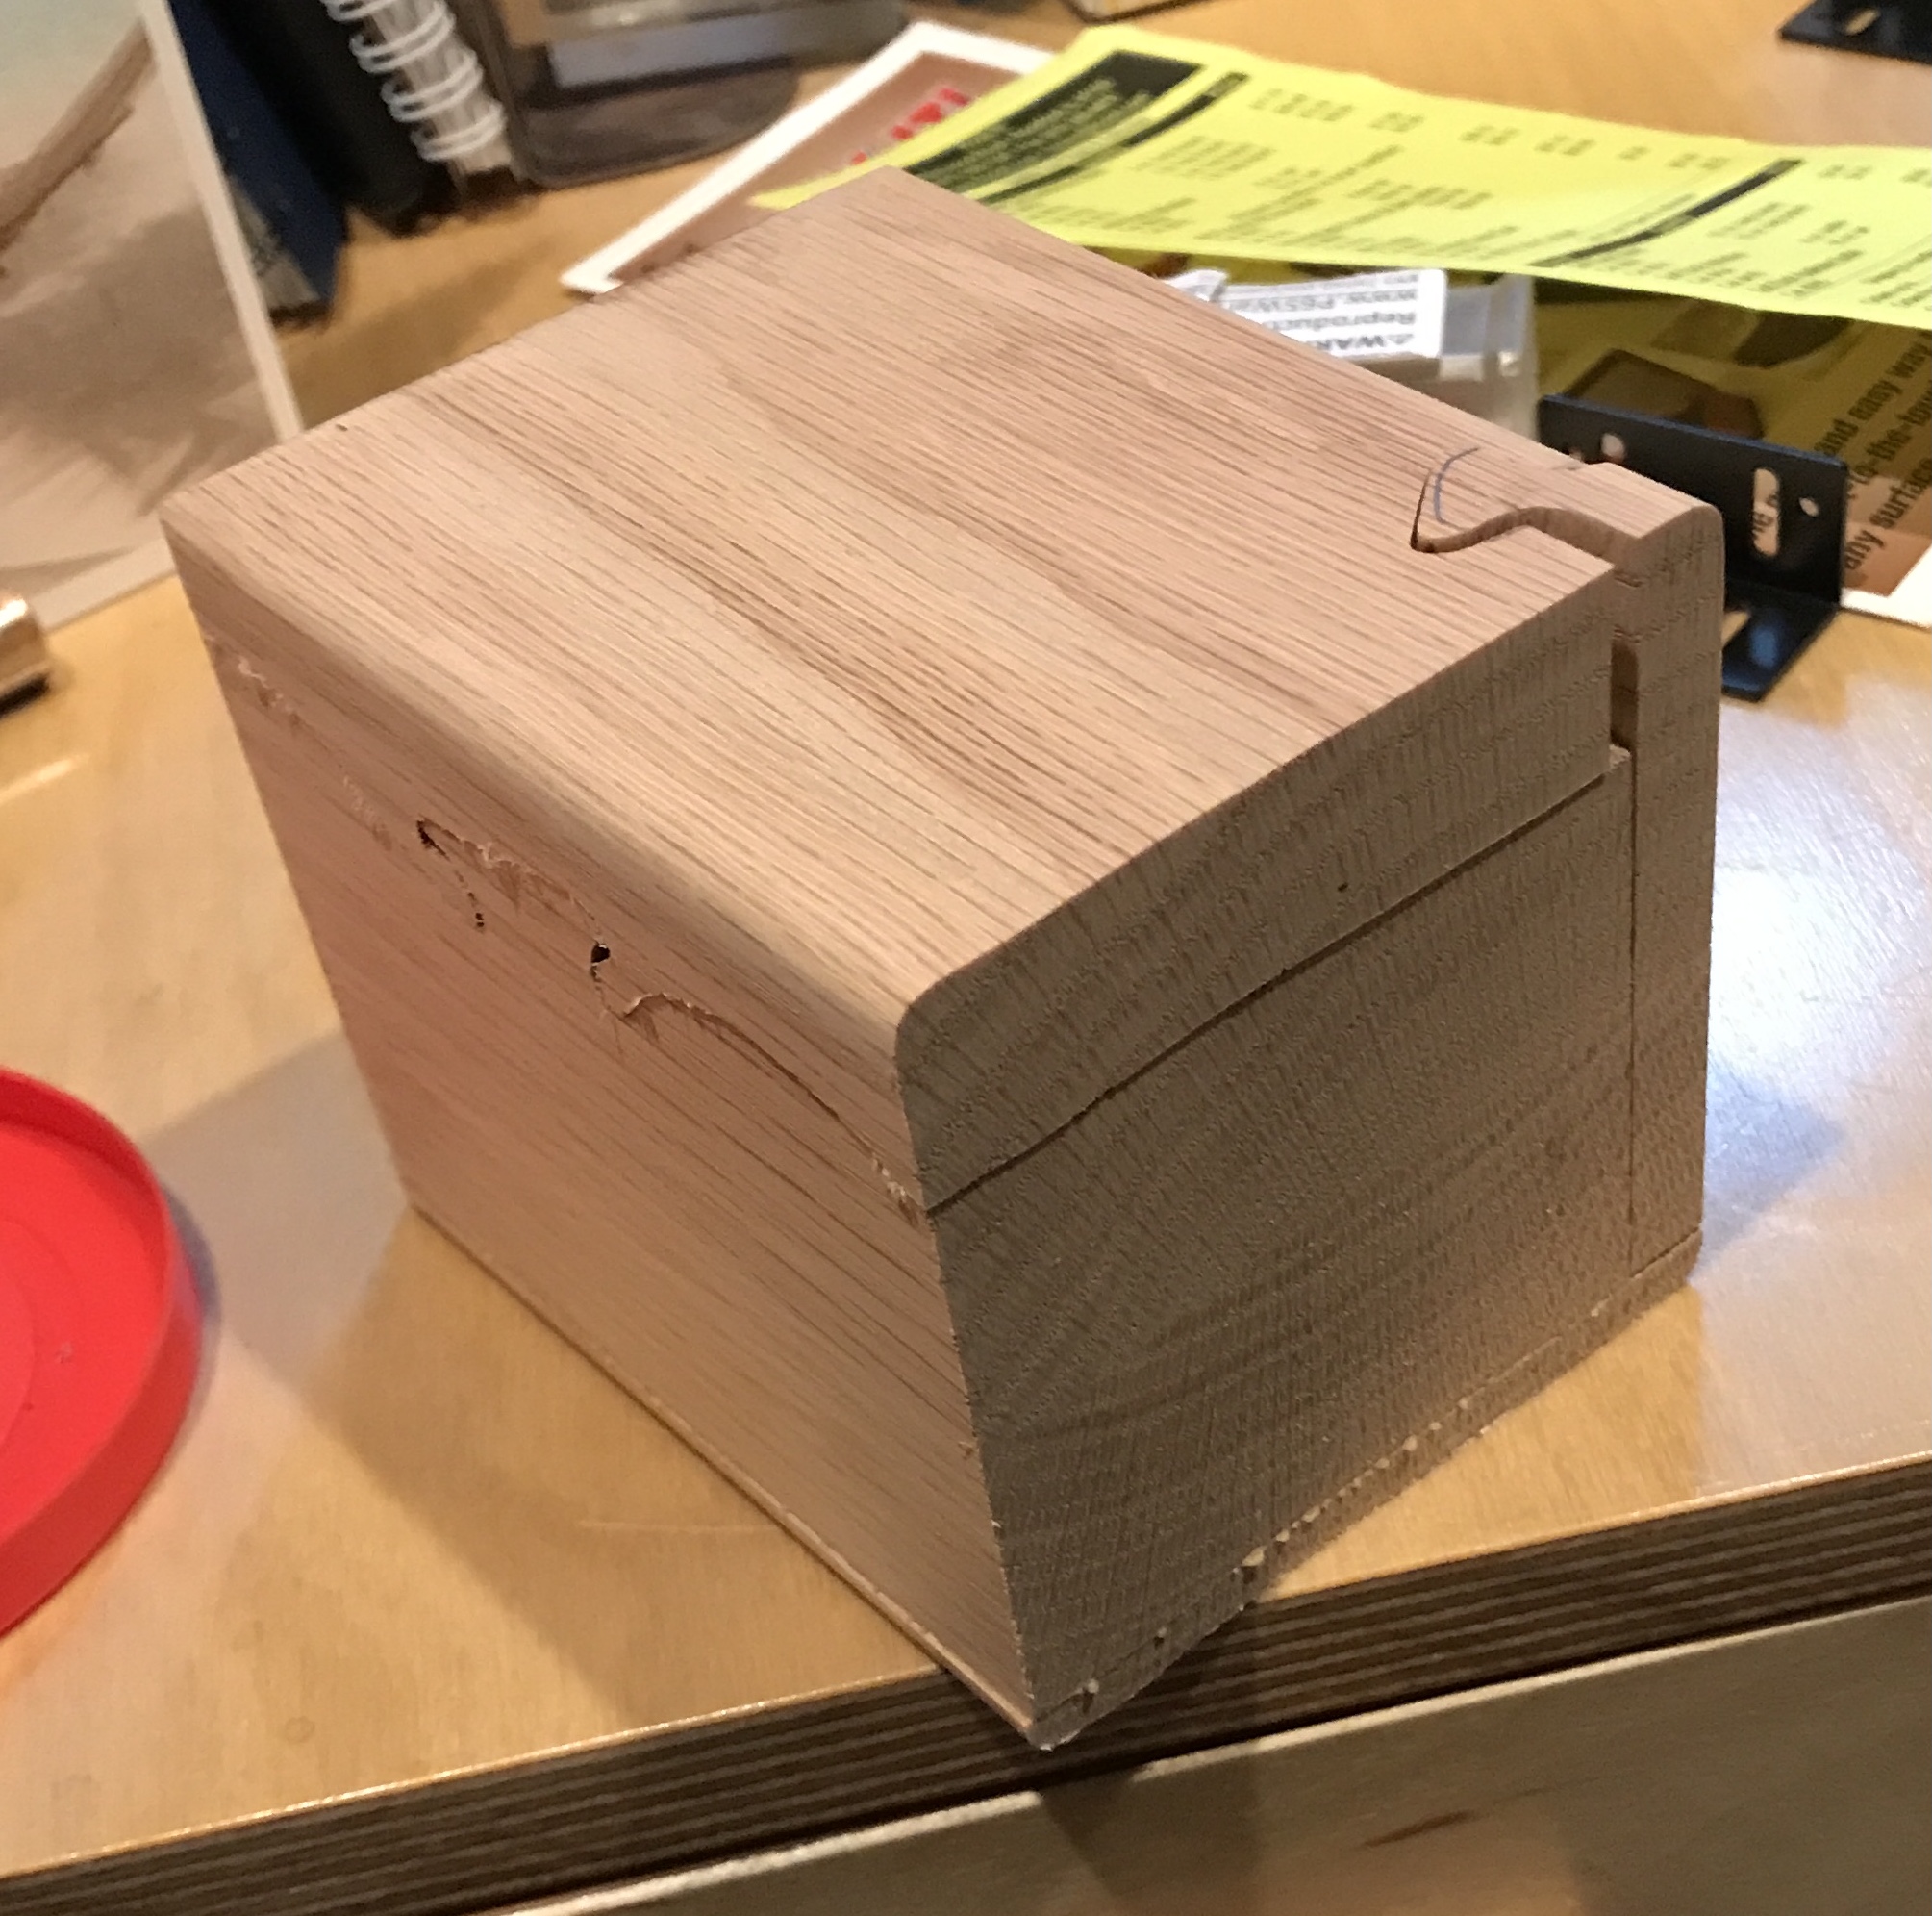
This short write-up is solely for documenting what I am doing to finish the boxes. Two boxes were roughly sanded by Jeff. I went over the outsides and flat areas with 320-grit paper. The accessible insides were sanded with 120-grit paper. All edges including inside corners were lightly rounded.
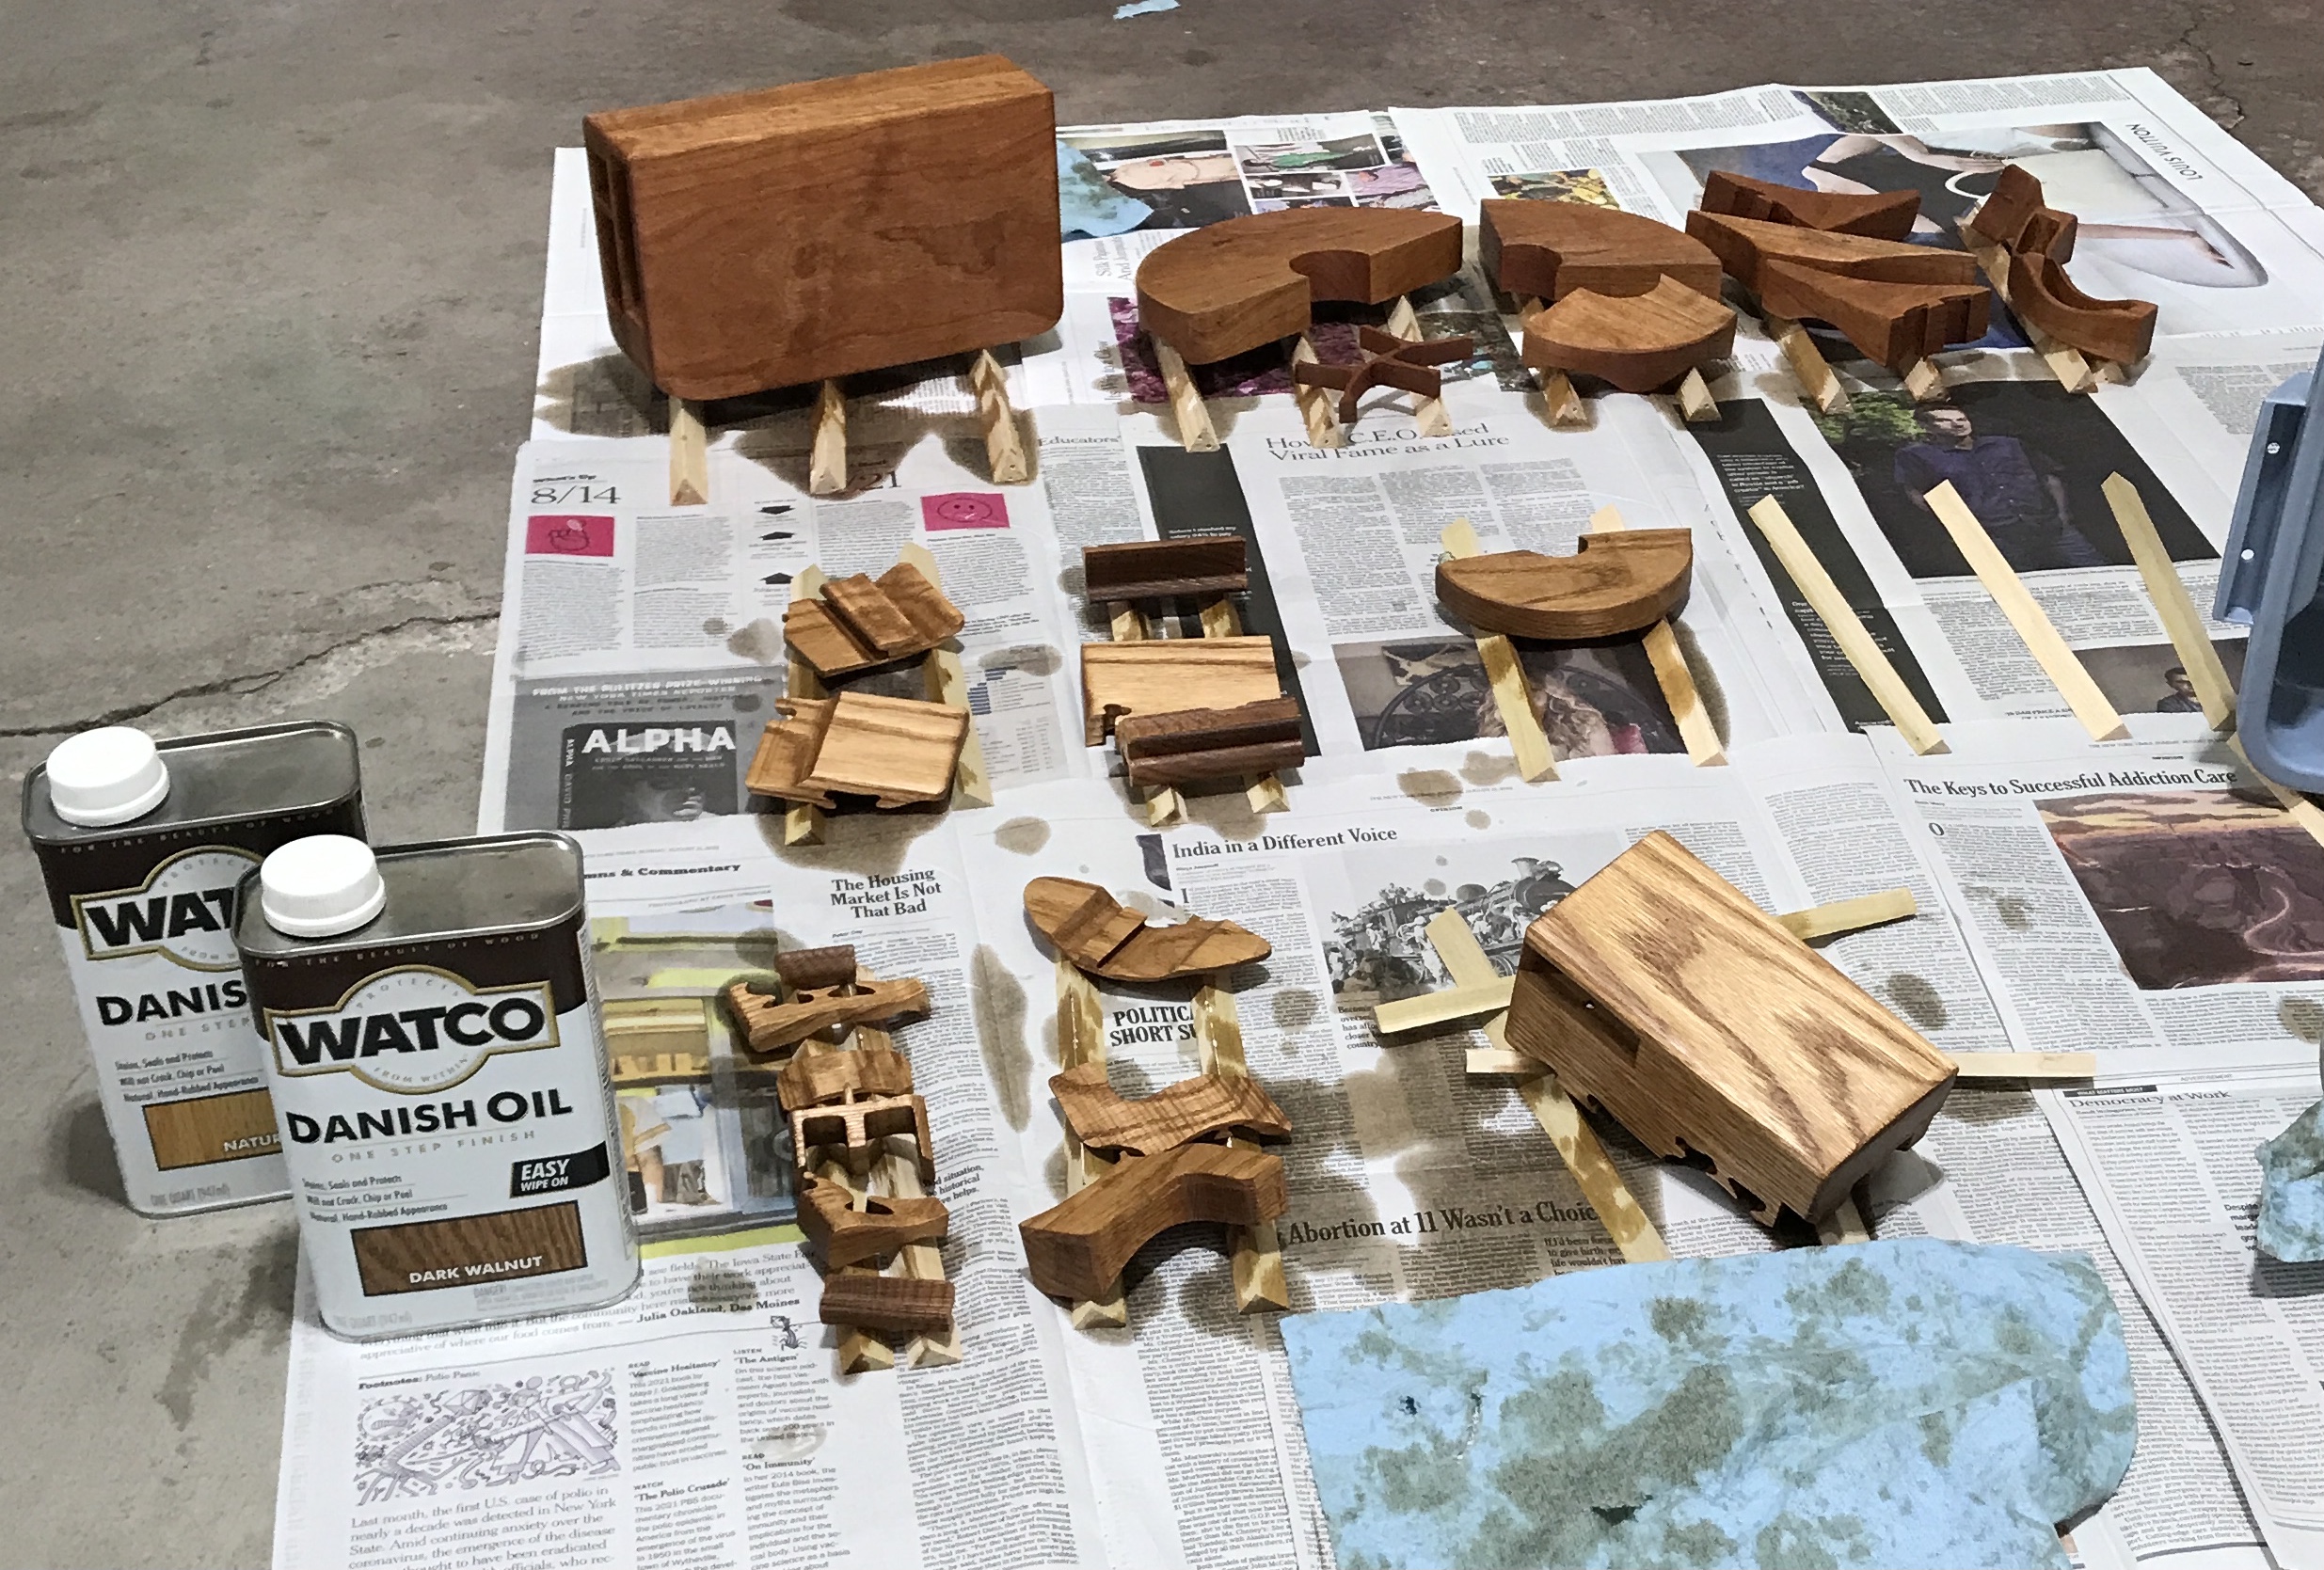
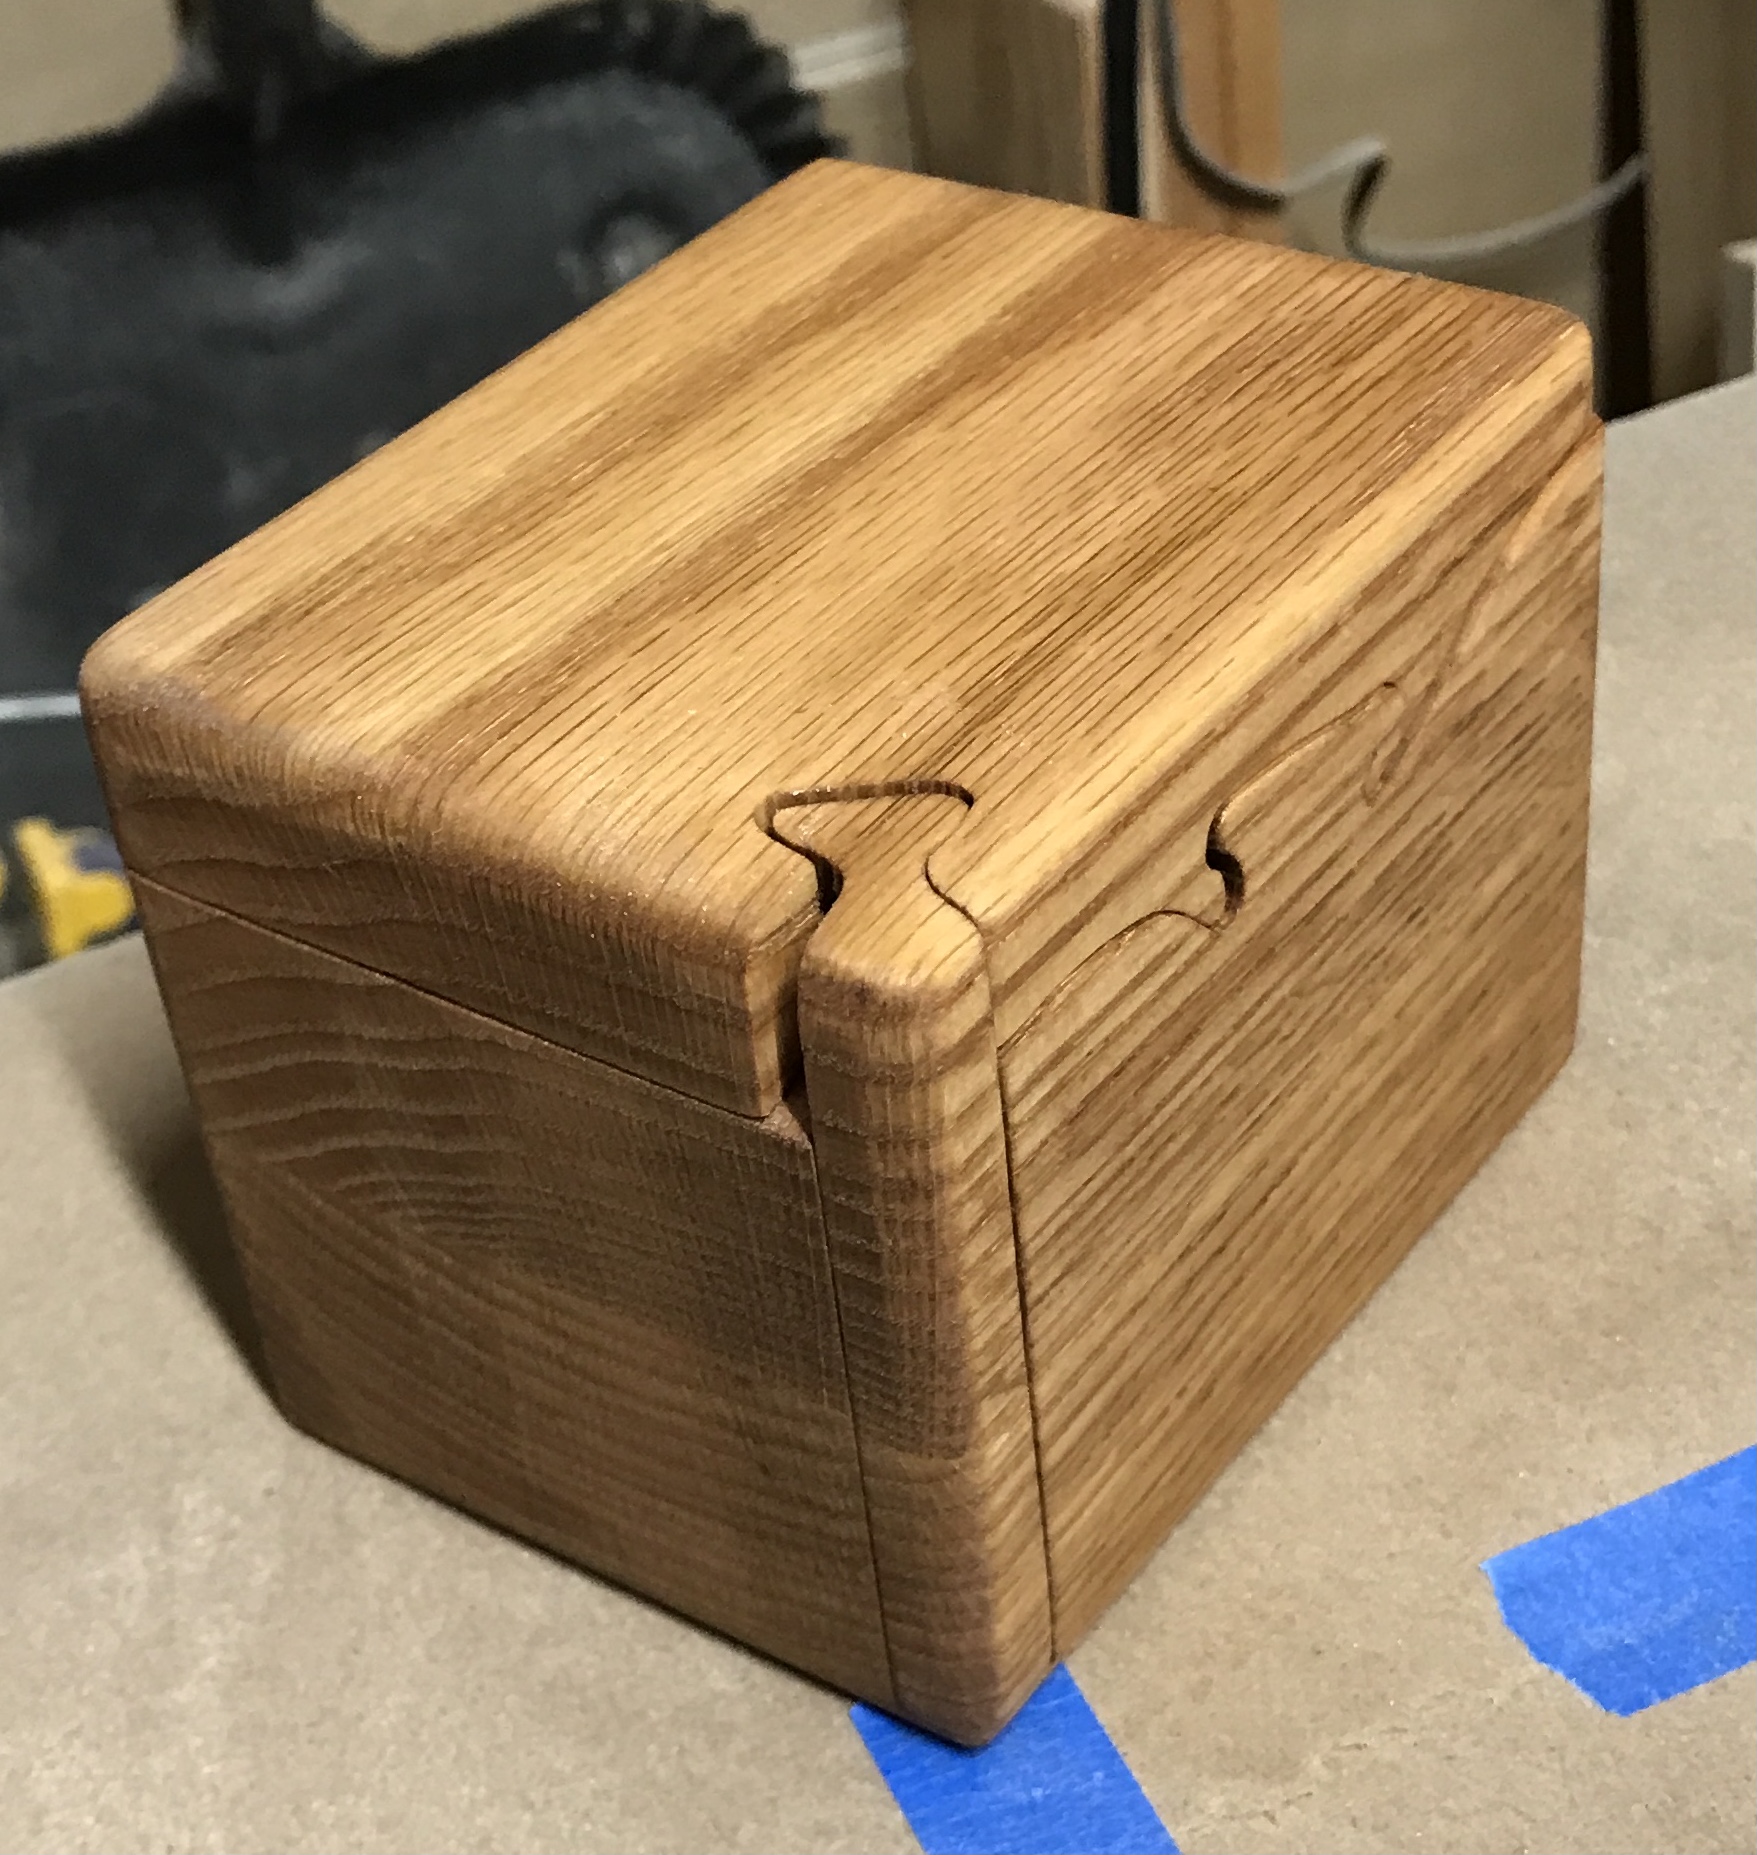
Two colors of Danish Oil were purchased. One quart is neutral and one is dark walnut. The two were mixed and poured into a tub that previously housed clamps and string. All of the parts were placed in the oil and let sit for at least a minute. For the larger parts some sloshing and flipping was necessary. The parts were placed on the triangular supports. The parts sat for twenty minutes and were wiped down with shop towels. They were allowed to dry overnight. The puzzle box in back is made from cherry, while the other is made of white oak. The cherry took up a lot of color, but the oak took up very little.
The next step in class is spray varnishing. When Jeff sprays with a power sprayer, he uses three coats. When using a spray can, he uses eleven coats! He says the varnish is so diluted in the can that many more coats are needed. The final step is flocking the interior. This is important to hide the rough drawer insides and to hide the hidden drawers. I am still debating whether to flock or not. It is messy and the glue needs to dry at least two days or the flock rubs off.
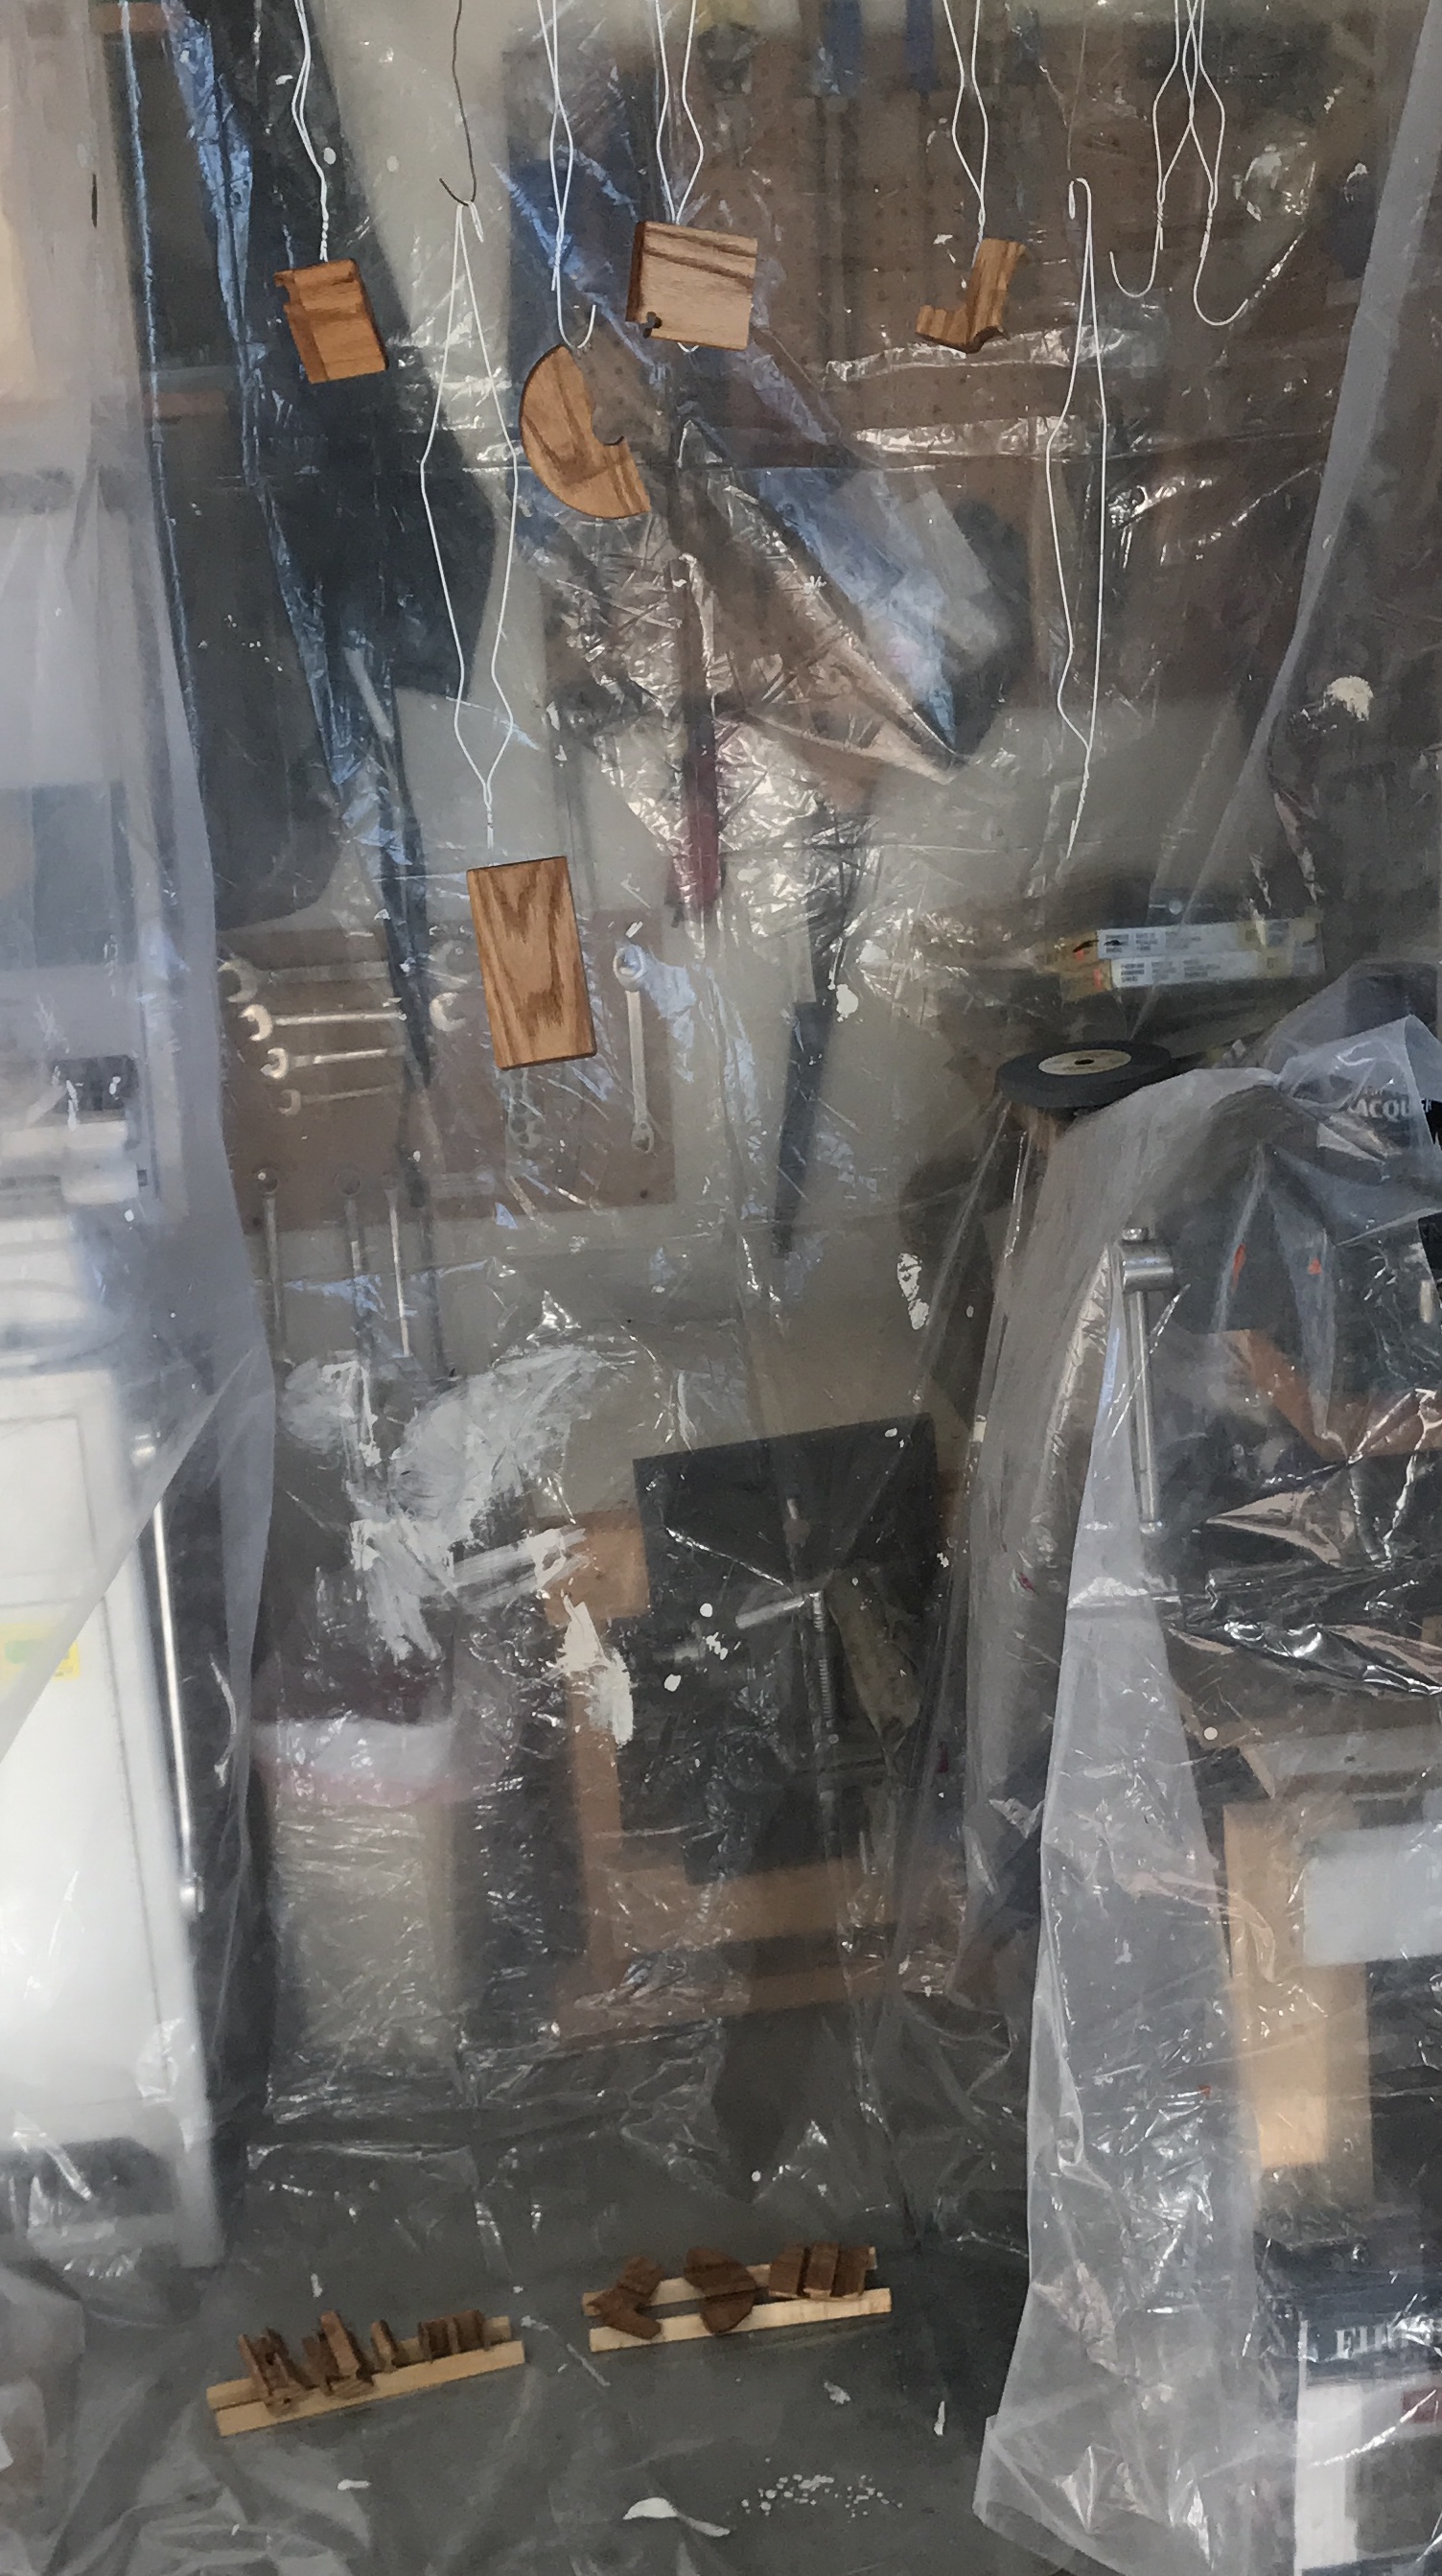
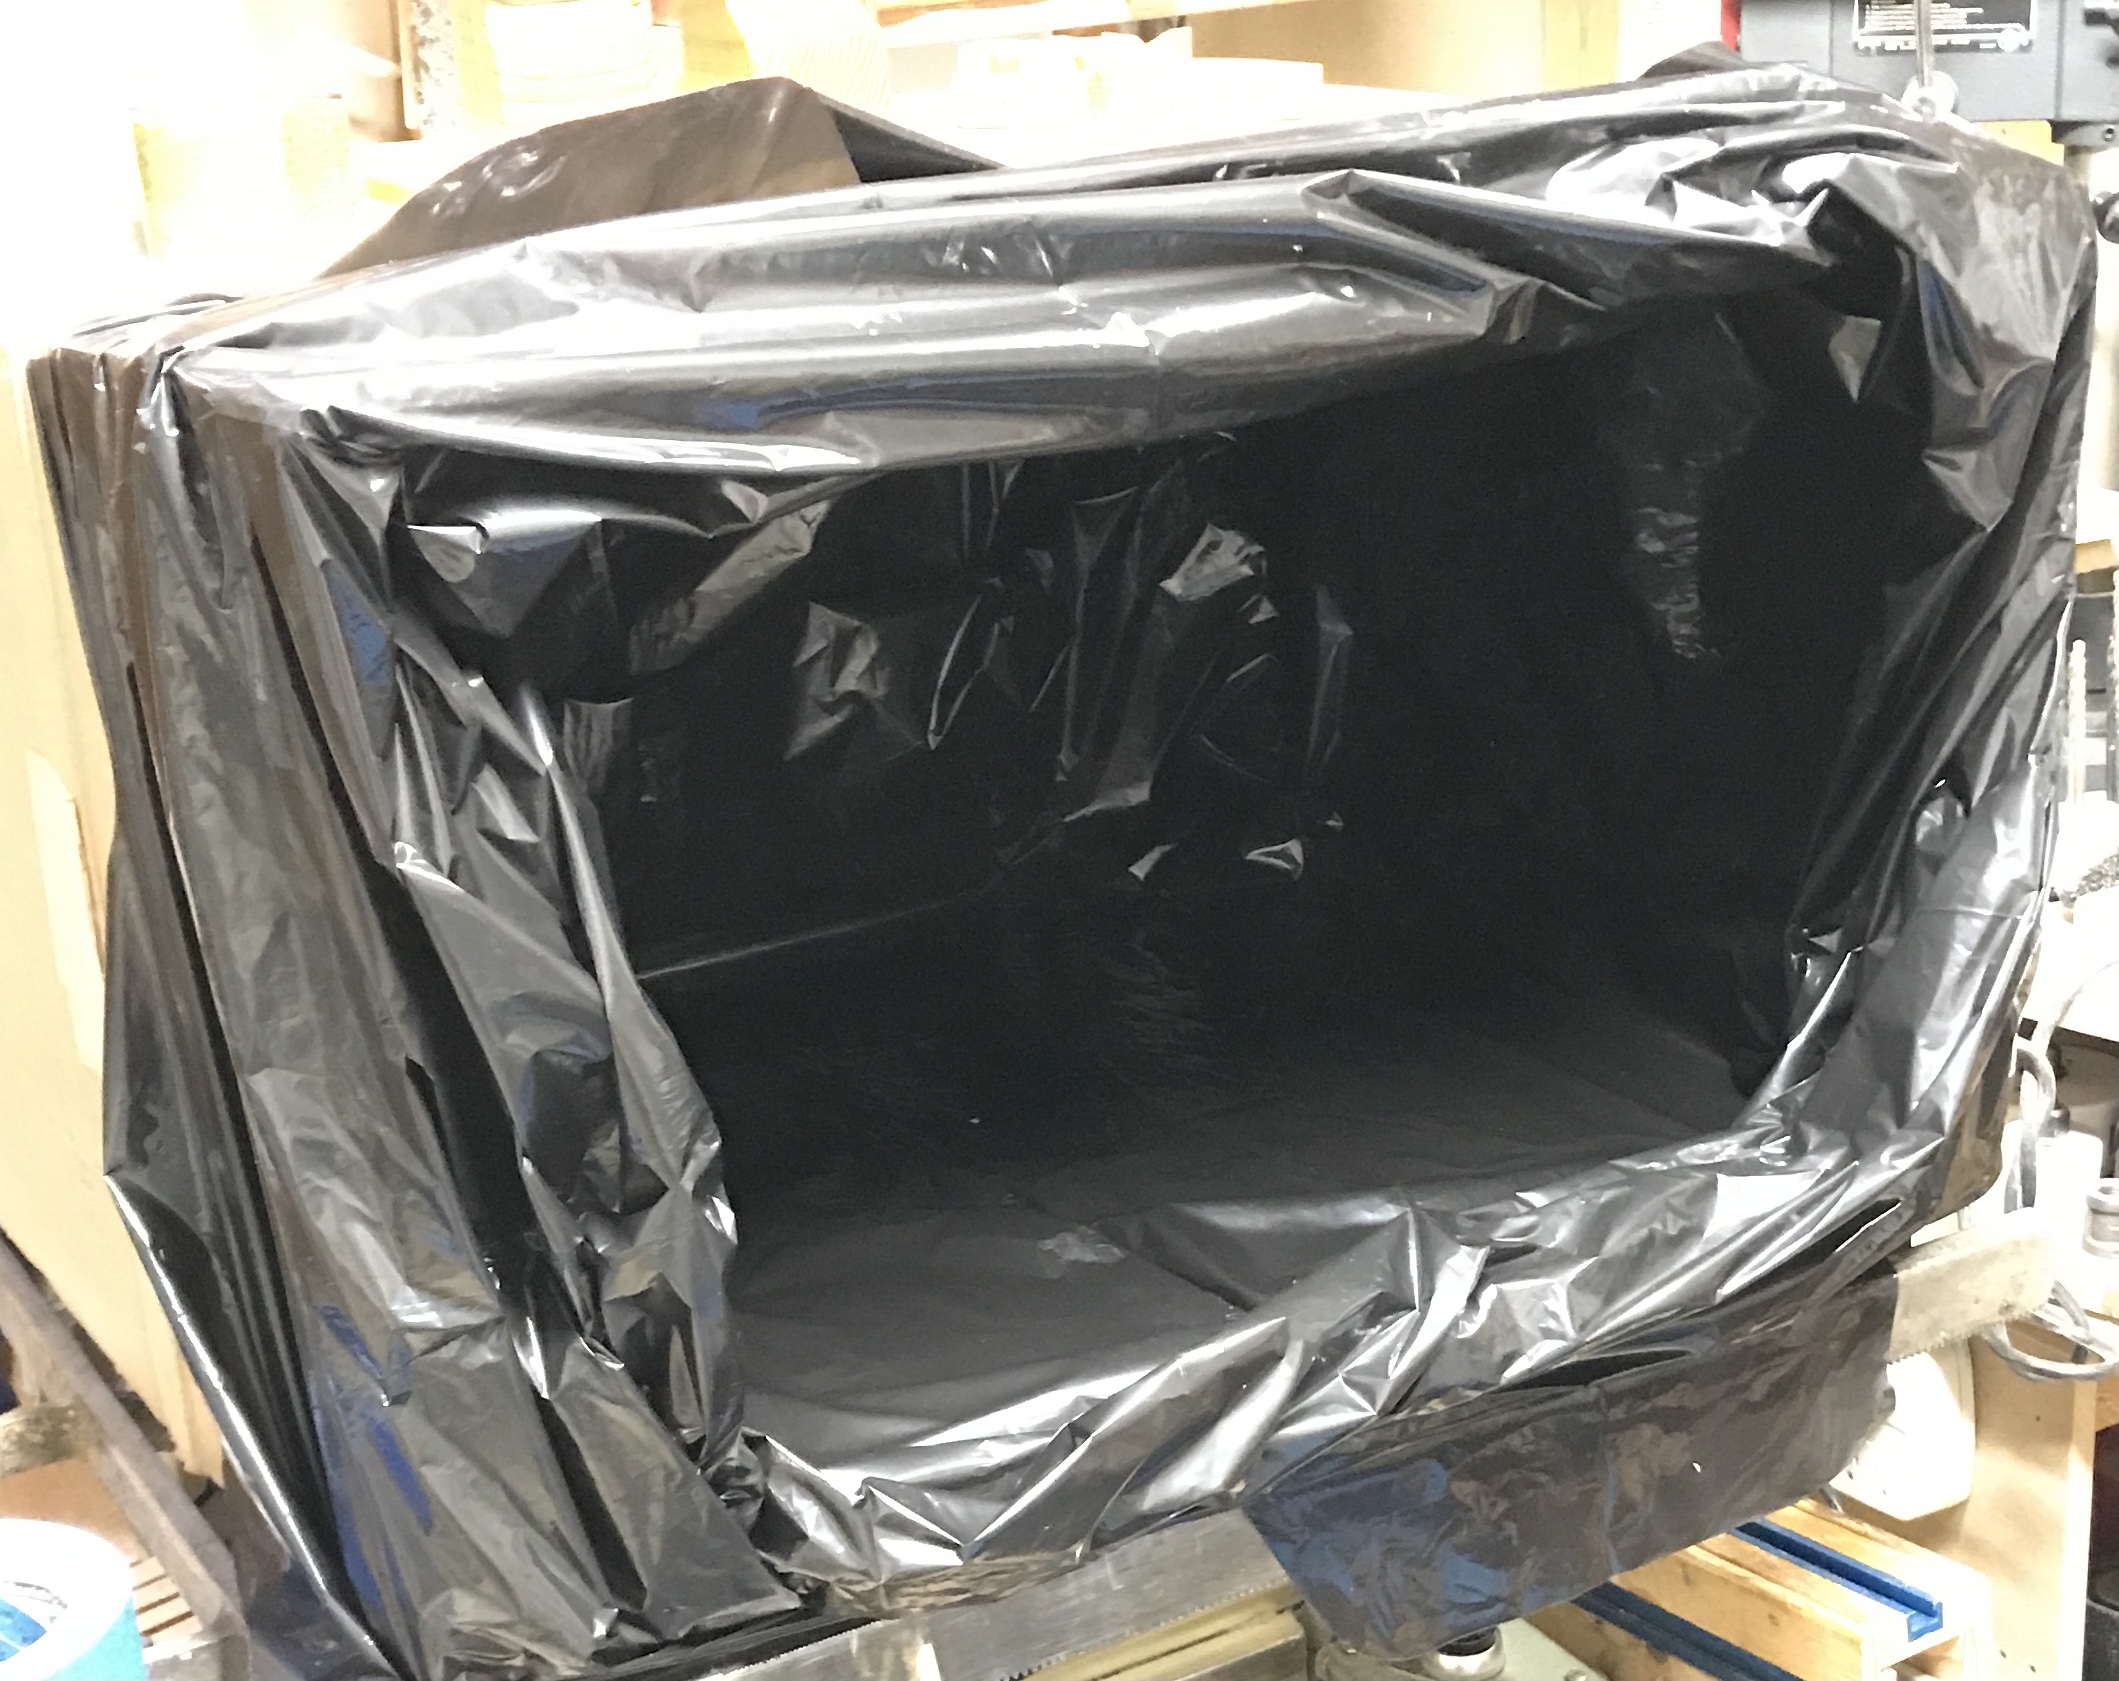
The spraying began with the spring box. Some of the parts were hung in a shroud of plastic sheet. Others were set on the floor using wood scrap with a triangular cross-section. Watco clear lacquer was sprayed on lightly at 8:50 a.m. The lacquer requires 2 hours between coats! Eleven coats will take twenty-two hours of watching paint dry. Got six coats on yesterday.
The final five coats were applied today. They don't seem to be as thickly painted as the box painted by Jeff with the sprayer. I found three parts that I missed painting. Two were the ends of keys and one was the top of a slide. These were combined with the two-layer box for painting this morning. After four coats of paint the second can ran out. Back to Menards tomorrow.
Made an executive decision and switched to brush on lacquer. I needed at least four cans at $14 each. Instead I purchased a quart and a small brush. It is supposed to go on without leaving brush strokes. It requires two hours and no sanding between coats like the spray.
The lacquer was painted on the spring loaded box. It came out nice. As a result the two "King's Safe" boxes were brought up. They were fine sanded with the white 3M pad. One box was done at a time. All of the parts needing lacquer were given two coats. Two seems to be sufficient, giving the boxes a hard glossy coat. The photo shows the two boxes lacquered. There is one more box that still requires woodworking. The boxes need to be flocked.
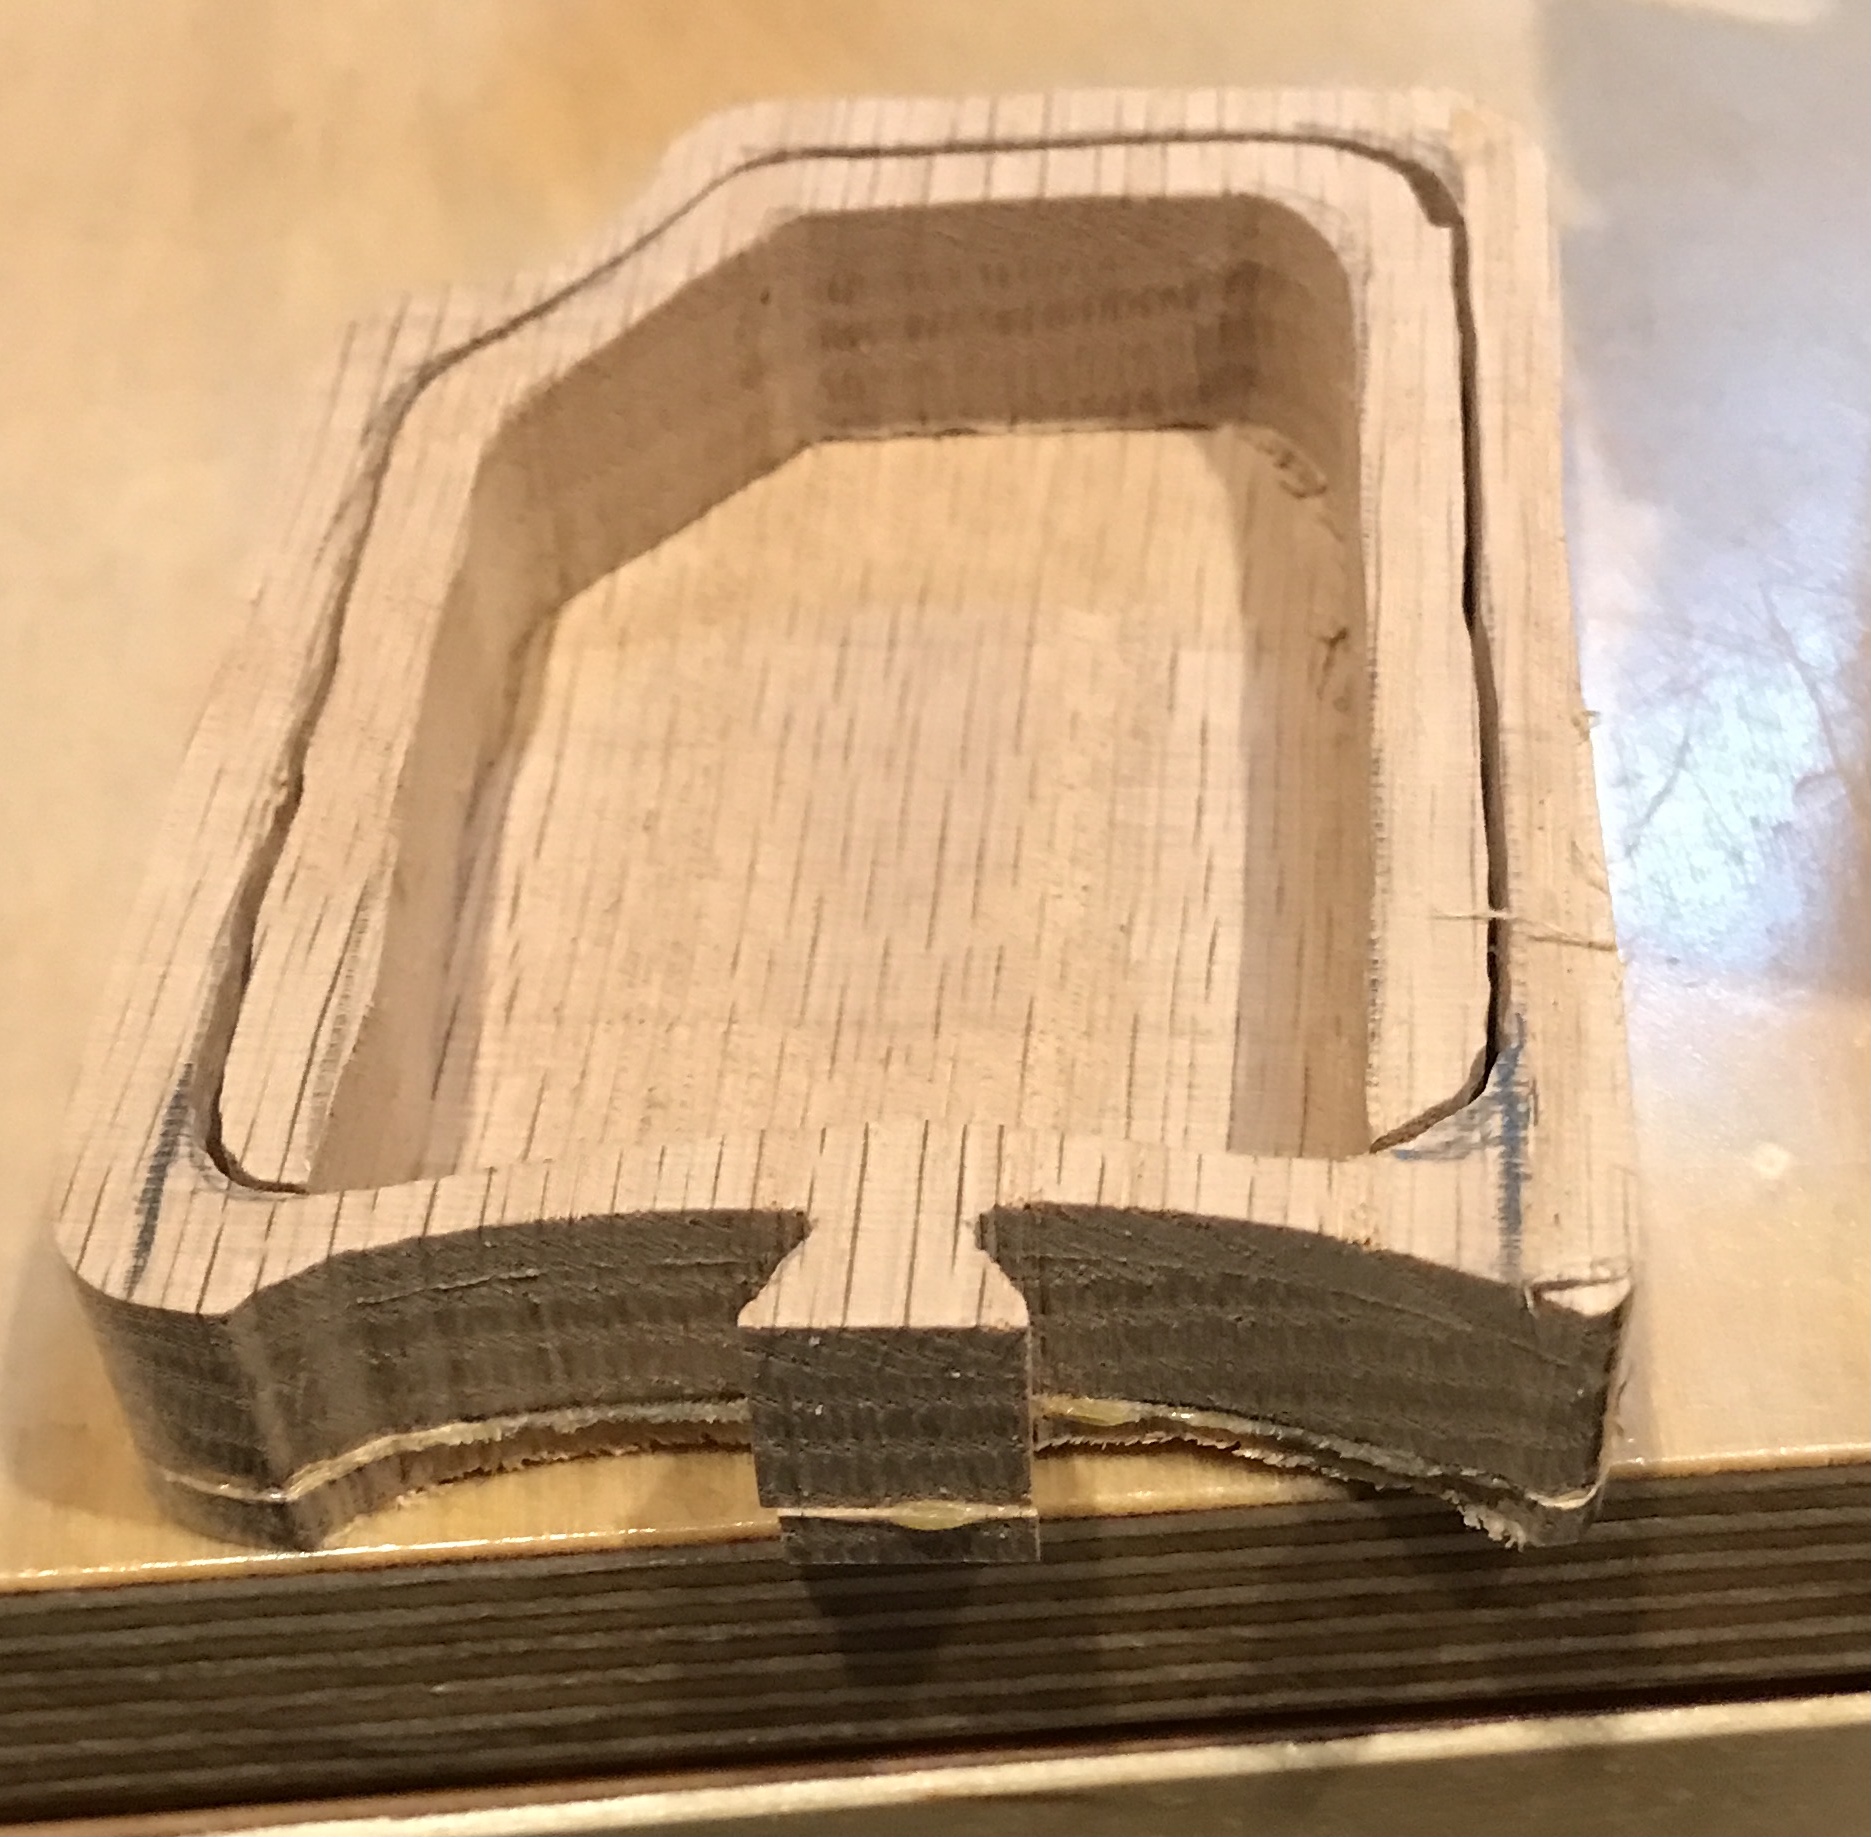
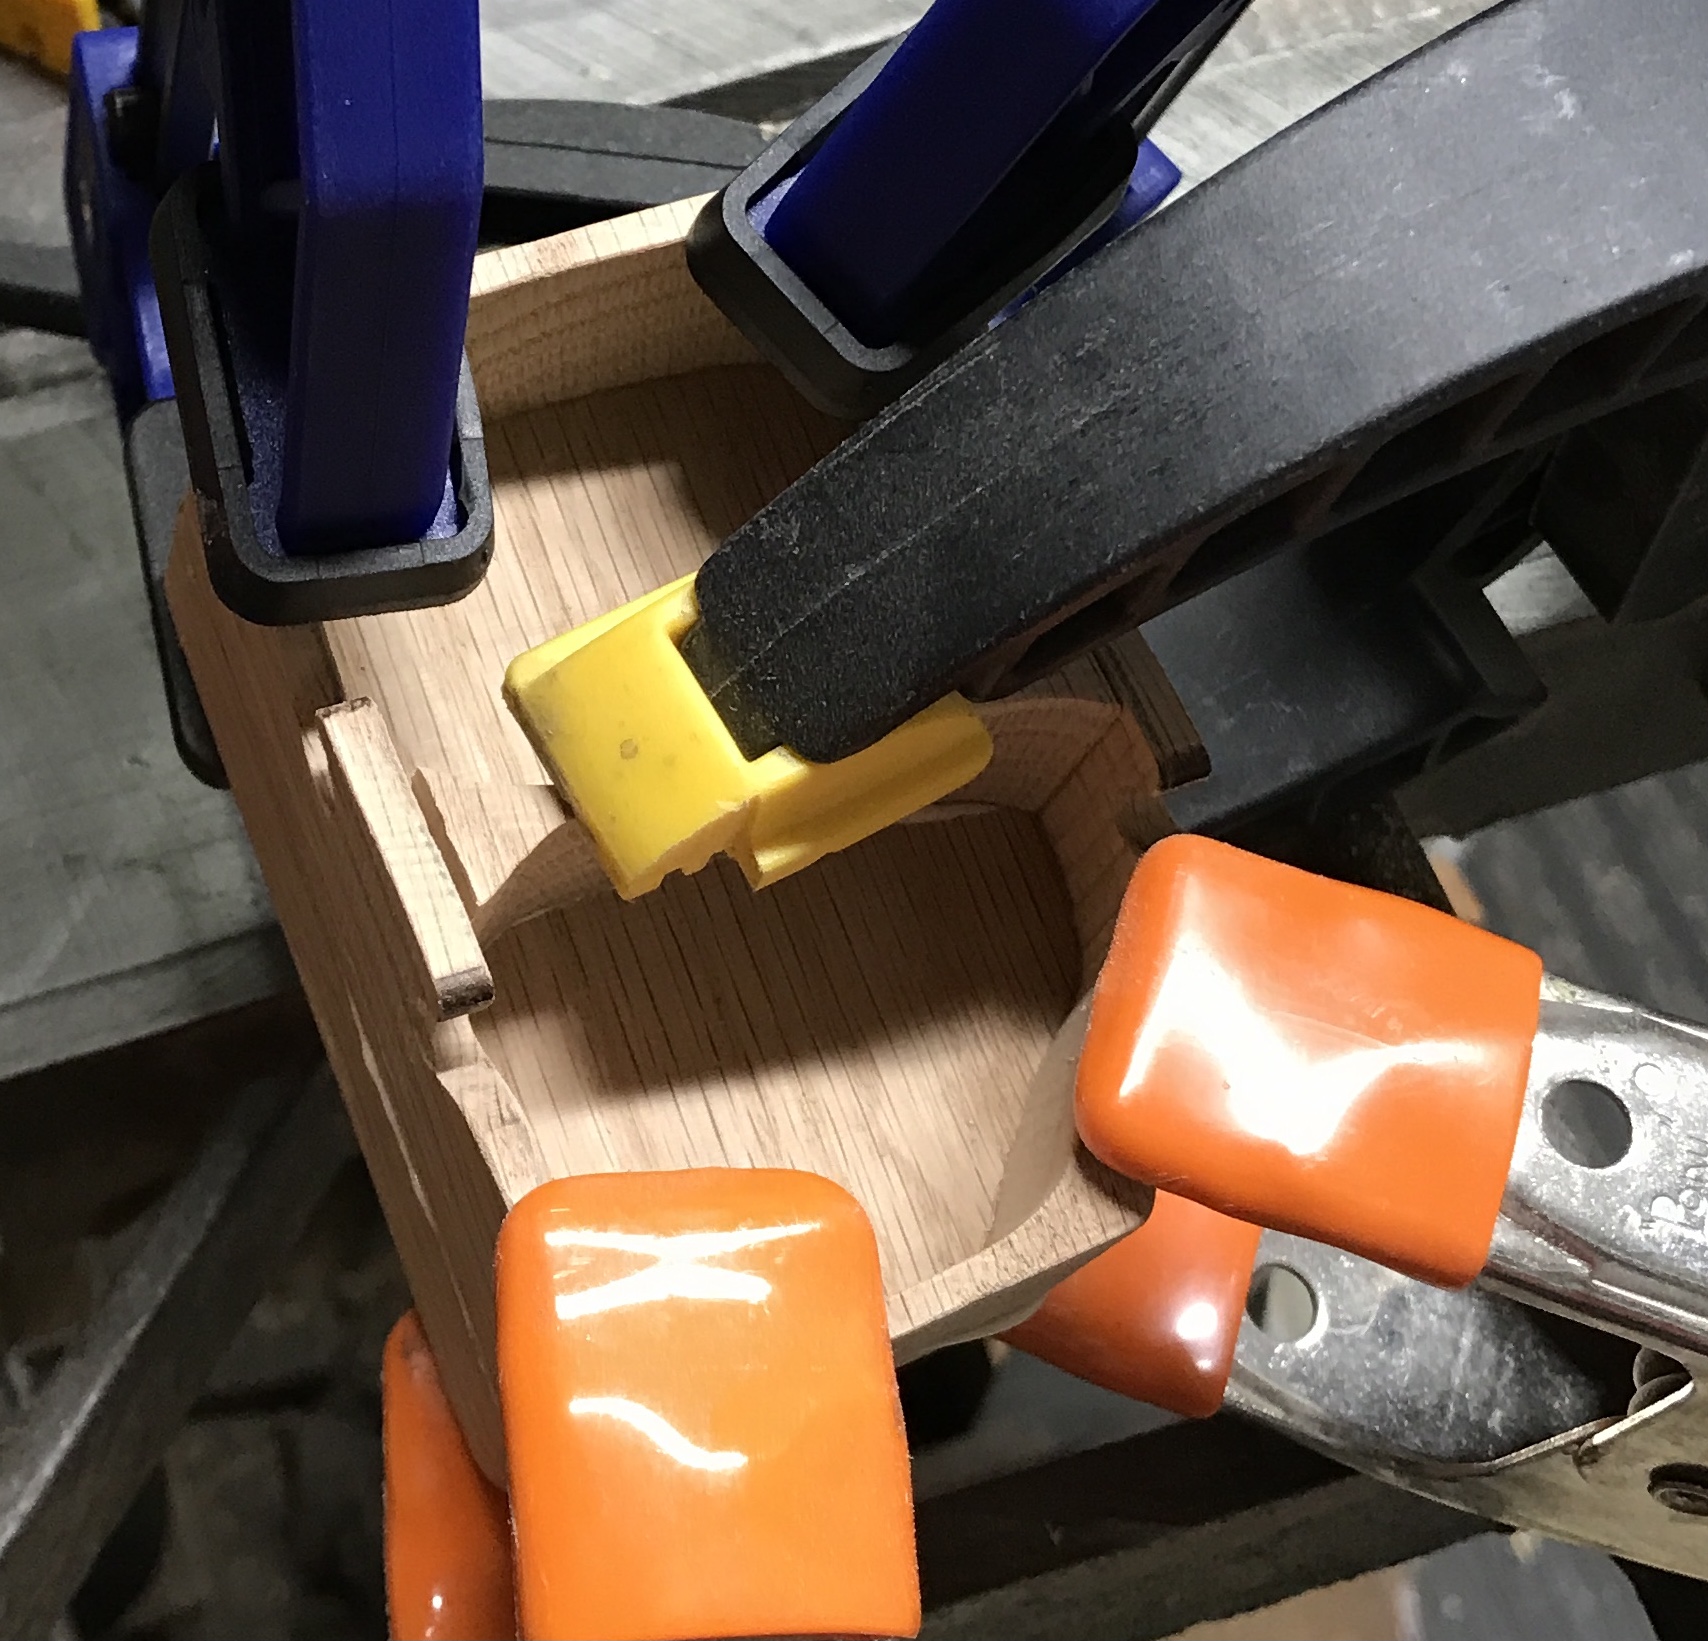
The last puzzle box needs a major repair. The last picture below of this box shows the drawer which was incorrectly cut. The front needs to be removed and a bottom must be constructed. The bottom can be made from a 1/8" scrap of wood. It will not be seen once it has been flocked. The challenge is cutting off the front of the drawer. The sides can be cut with a saw. Cutting off the bottom may be possible using a circular blade in the Dremel. Keeping the Dremel orthogonal to the drawer in two planes presents a challenge. Ideally the cut will be made just above the glue line.
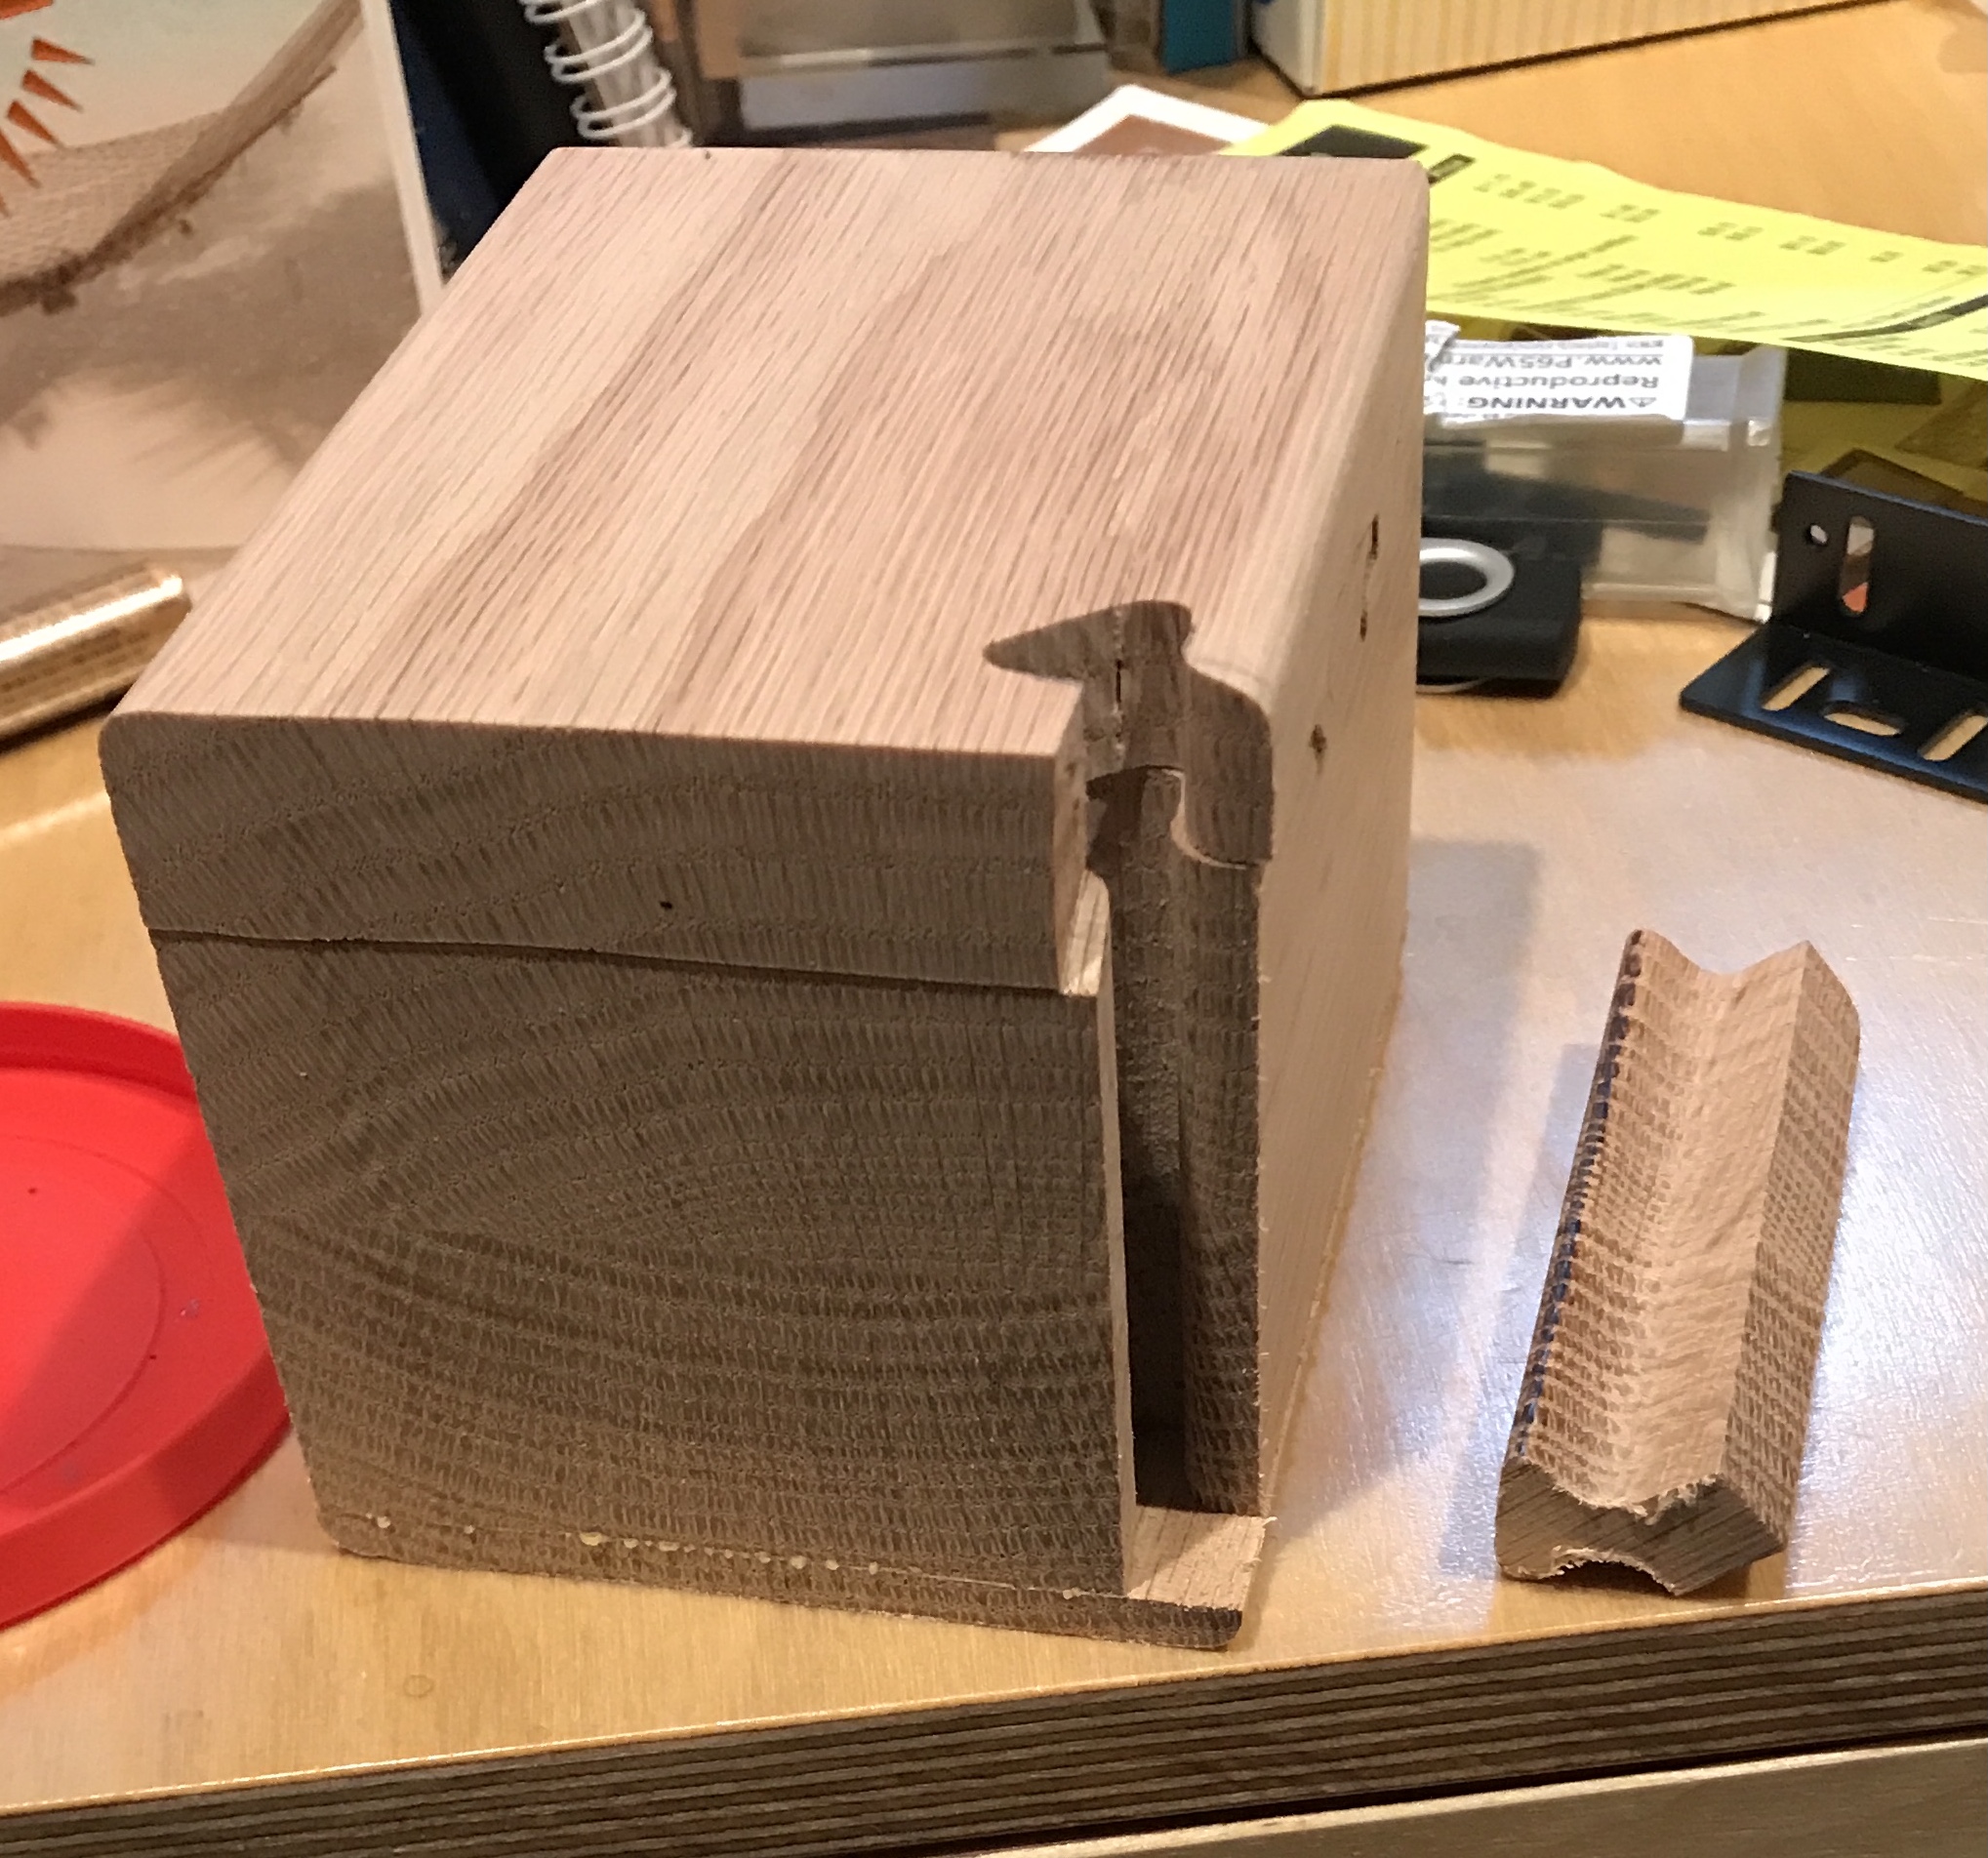
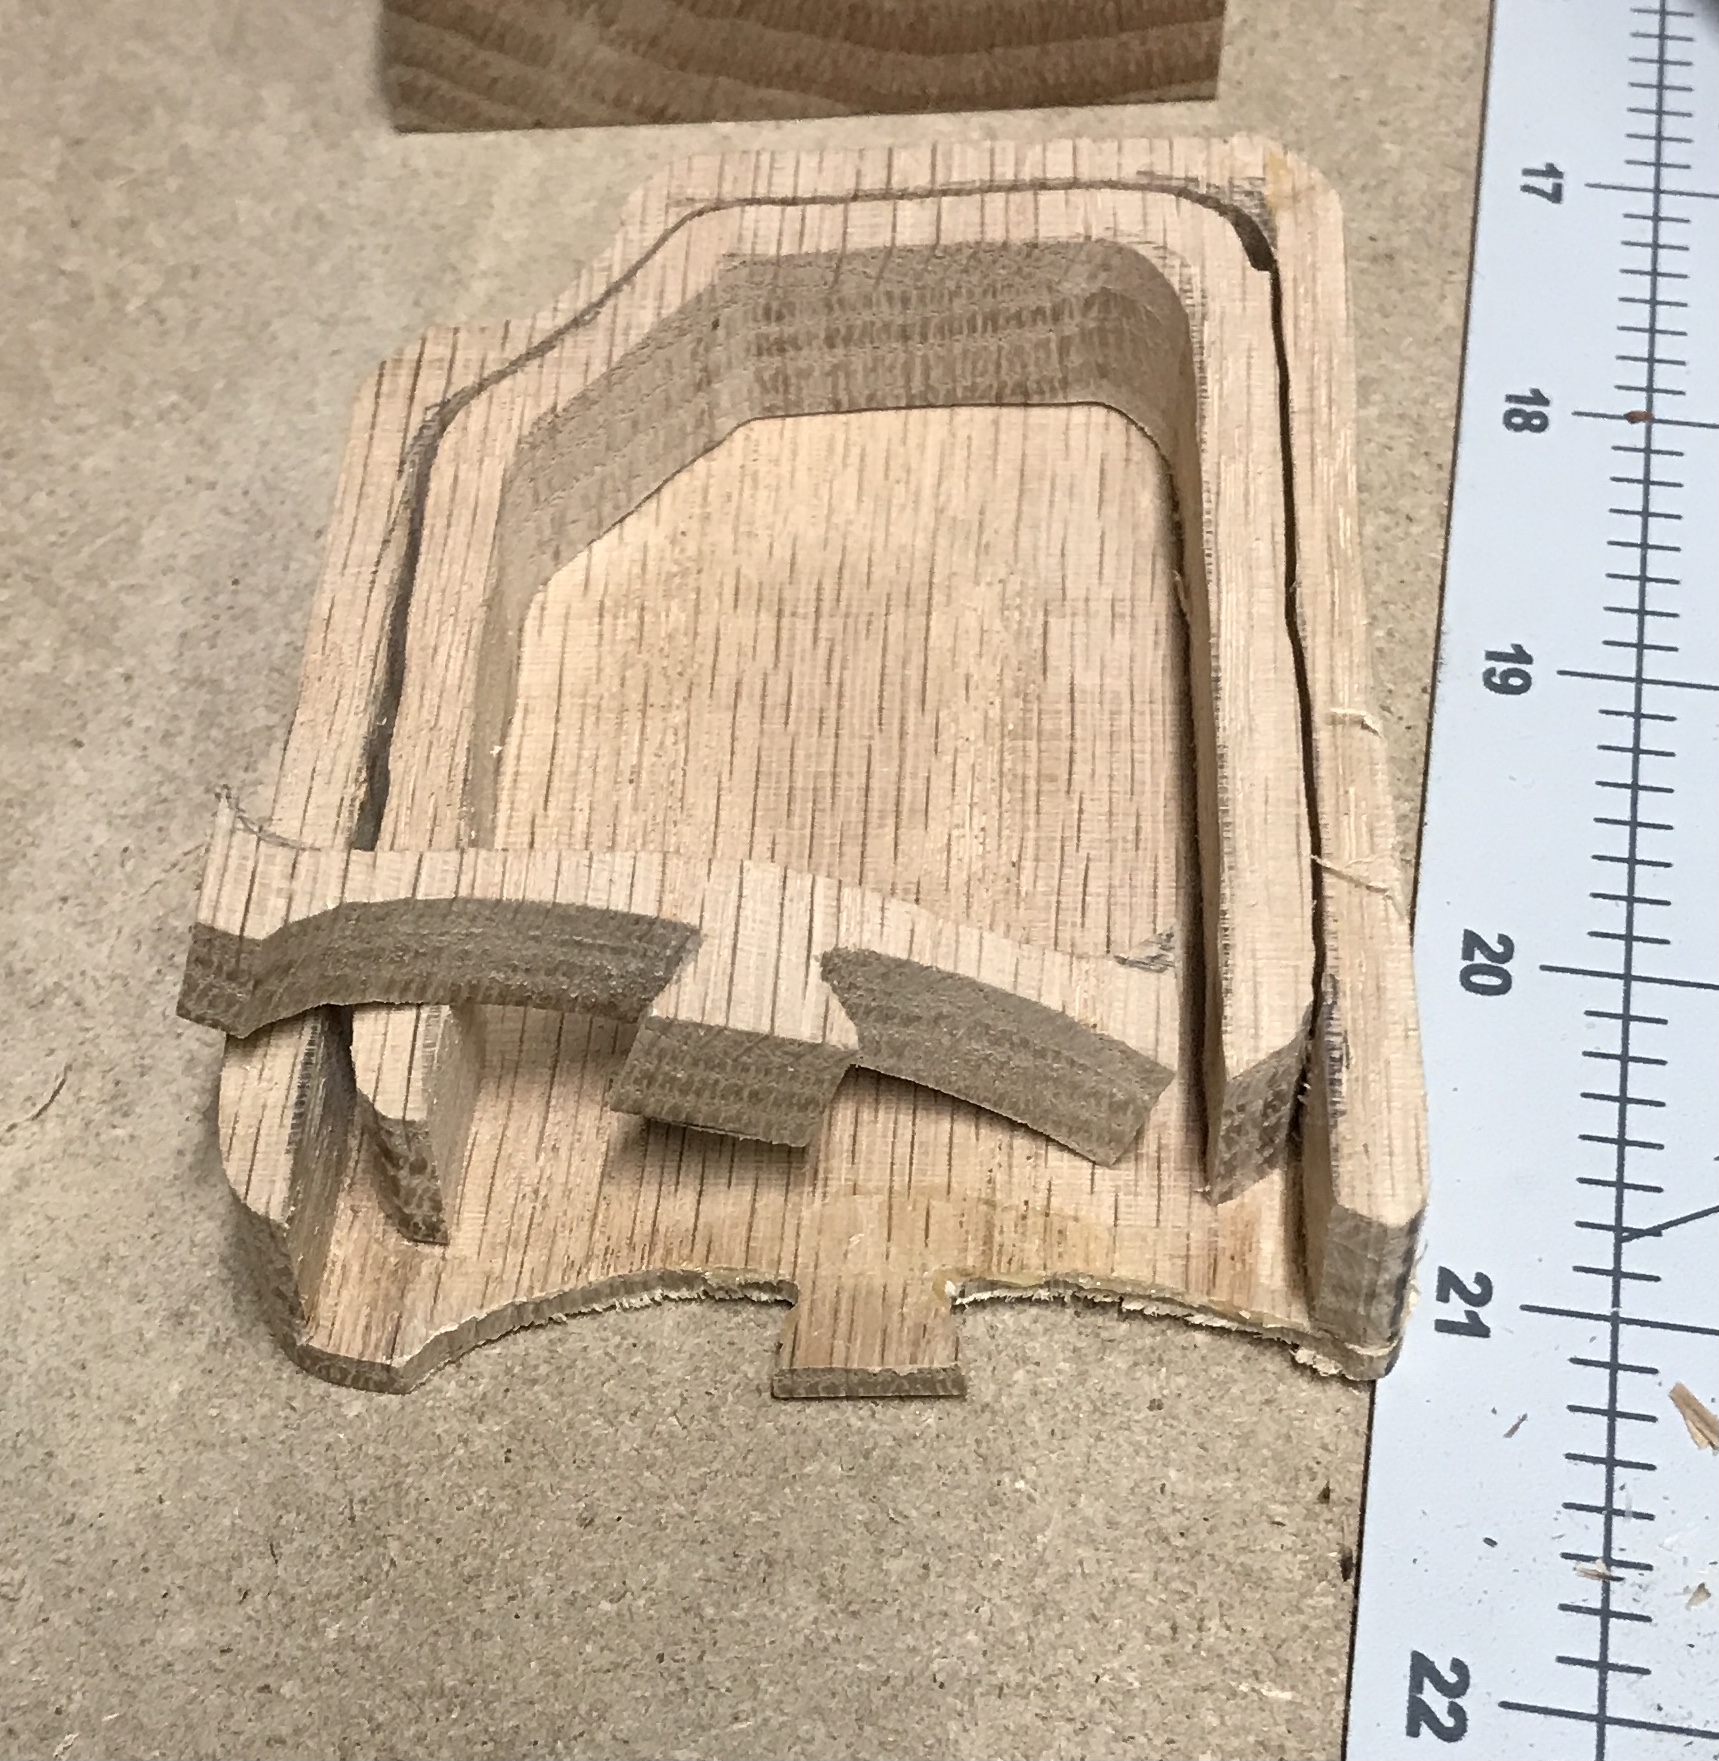
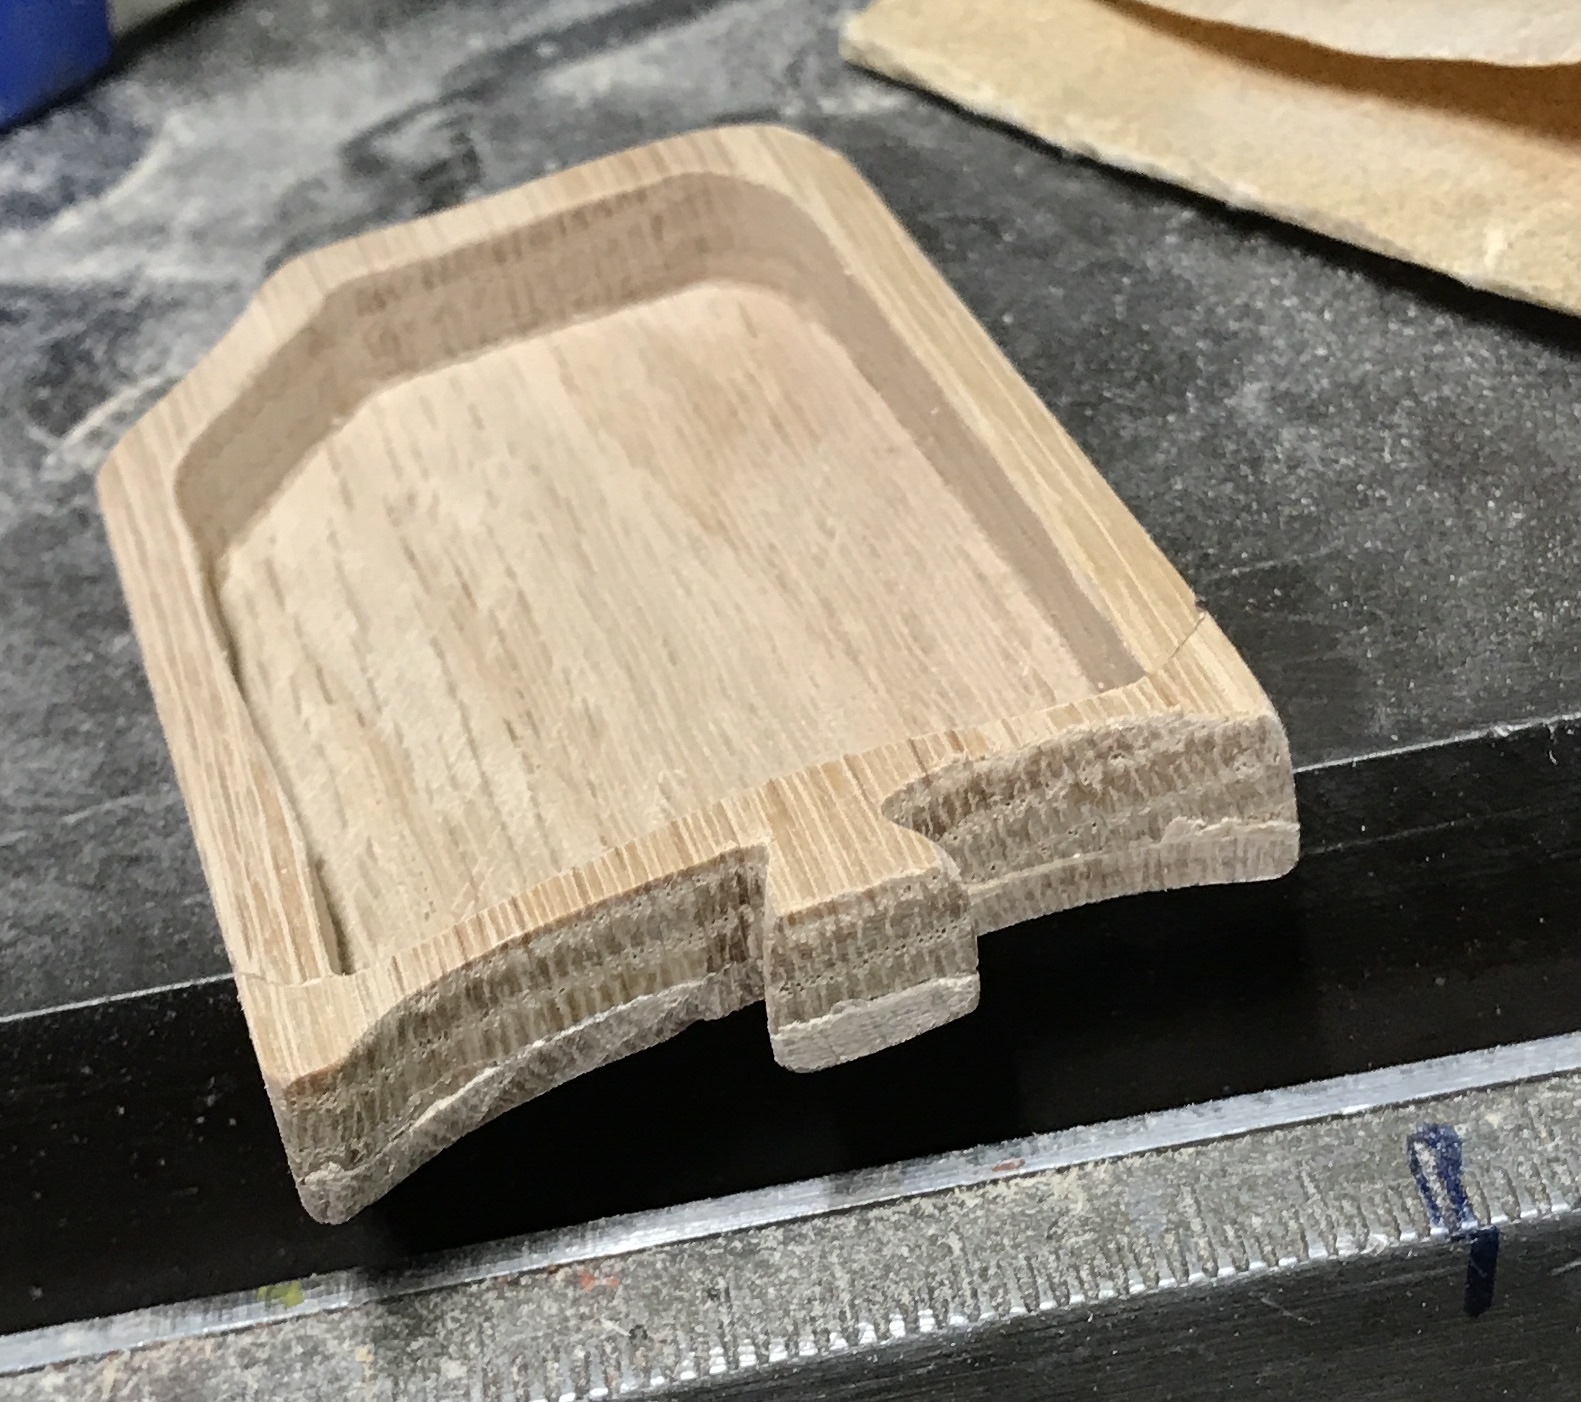
The Dremel approach worked well. The Dremel was held in the holder made almost four years ago. Orthogonality was not an issue. The saw blade is very tiny and probably burned as much as it cut. The a cut was made all the way through except for the outside corners. These were easily cut with an Xacto knife. The Xacto knife was also used to remove the remainder of the front still glued to the bottom of the box. The cut off front was sanded flat. The picture below shows the removed front. Now a bottom needs to be made.
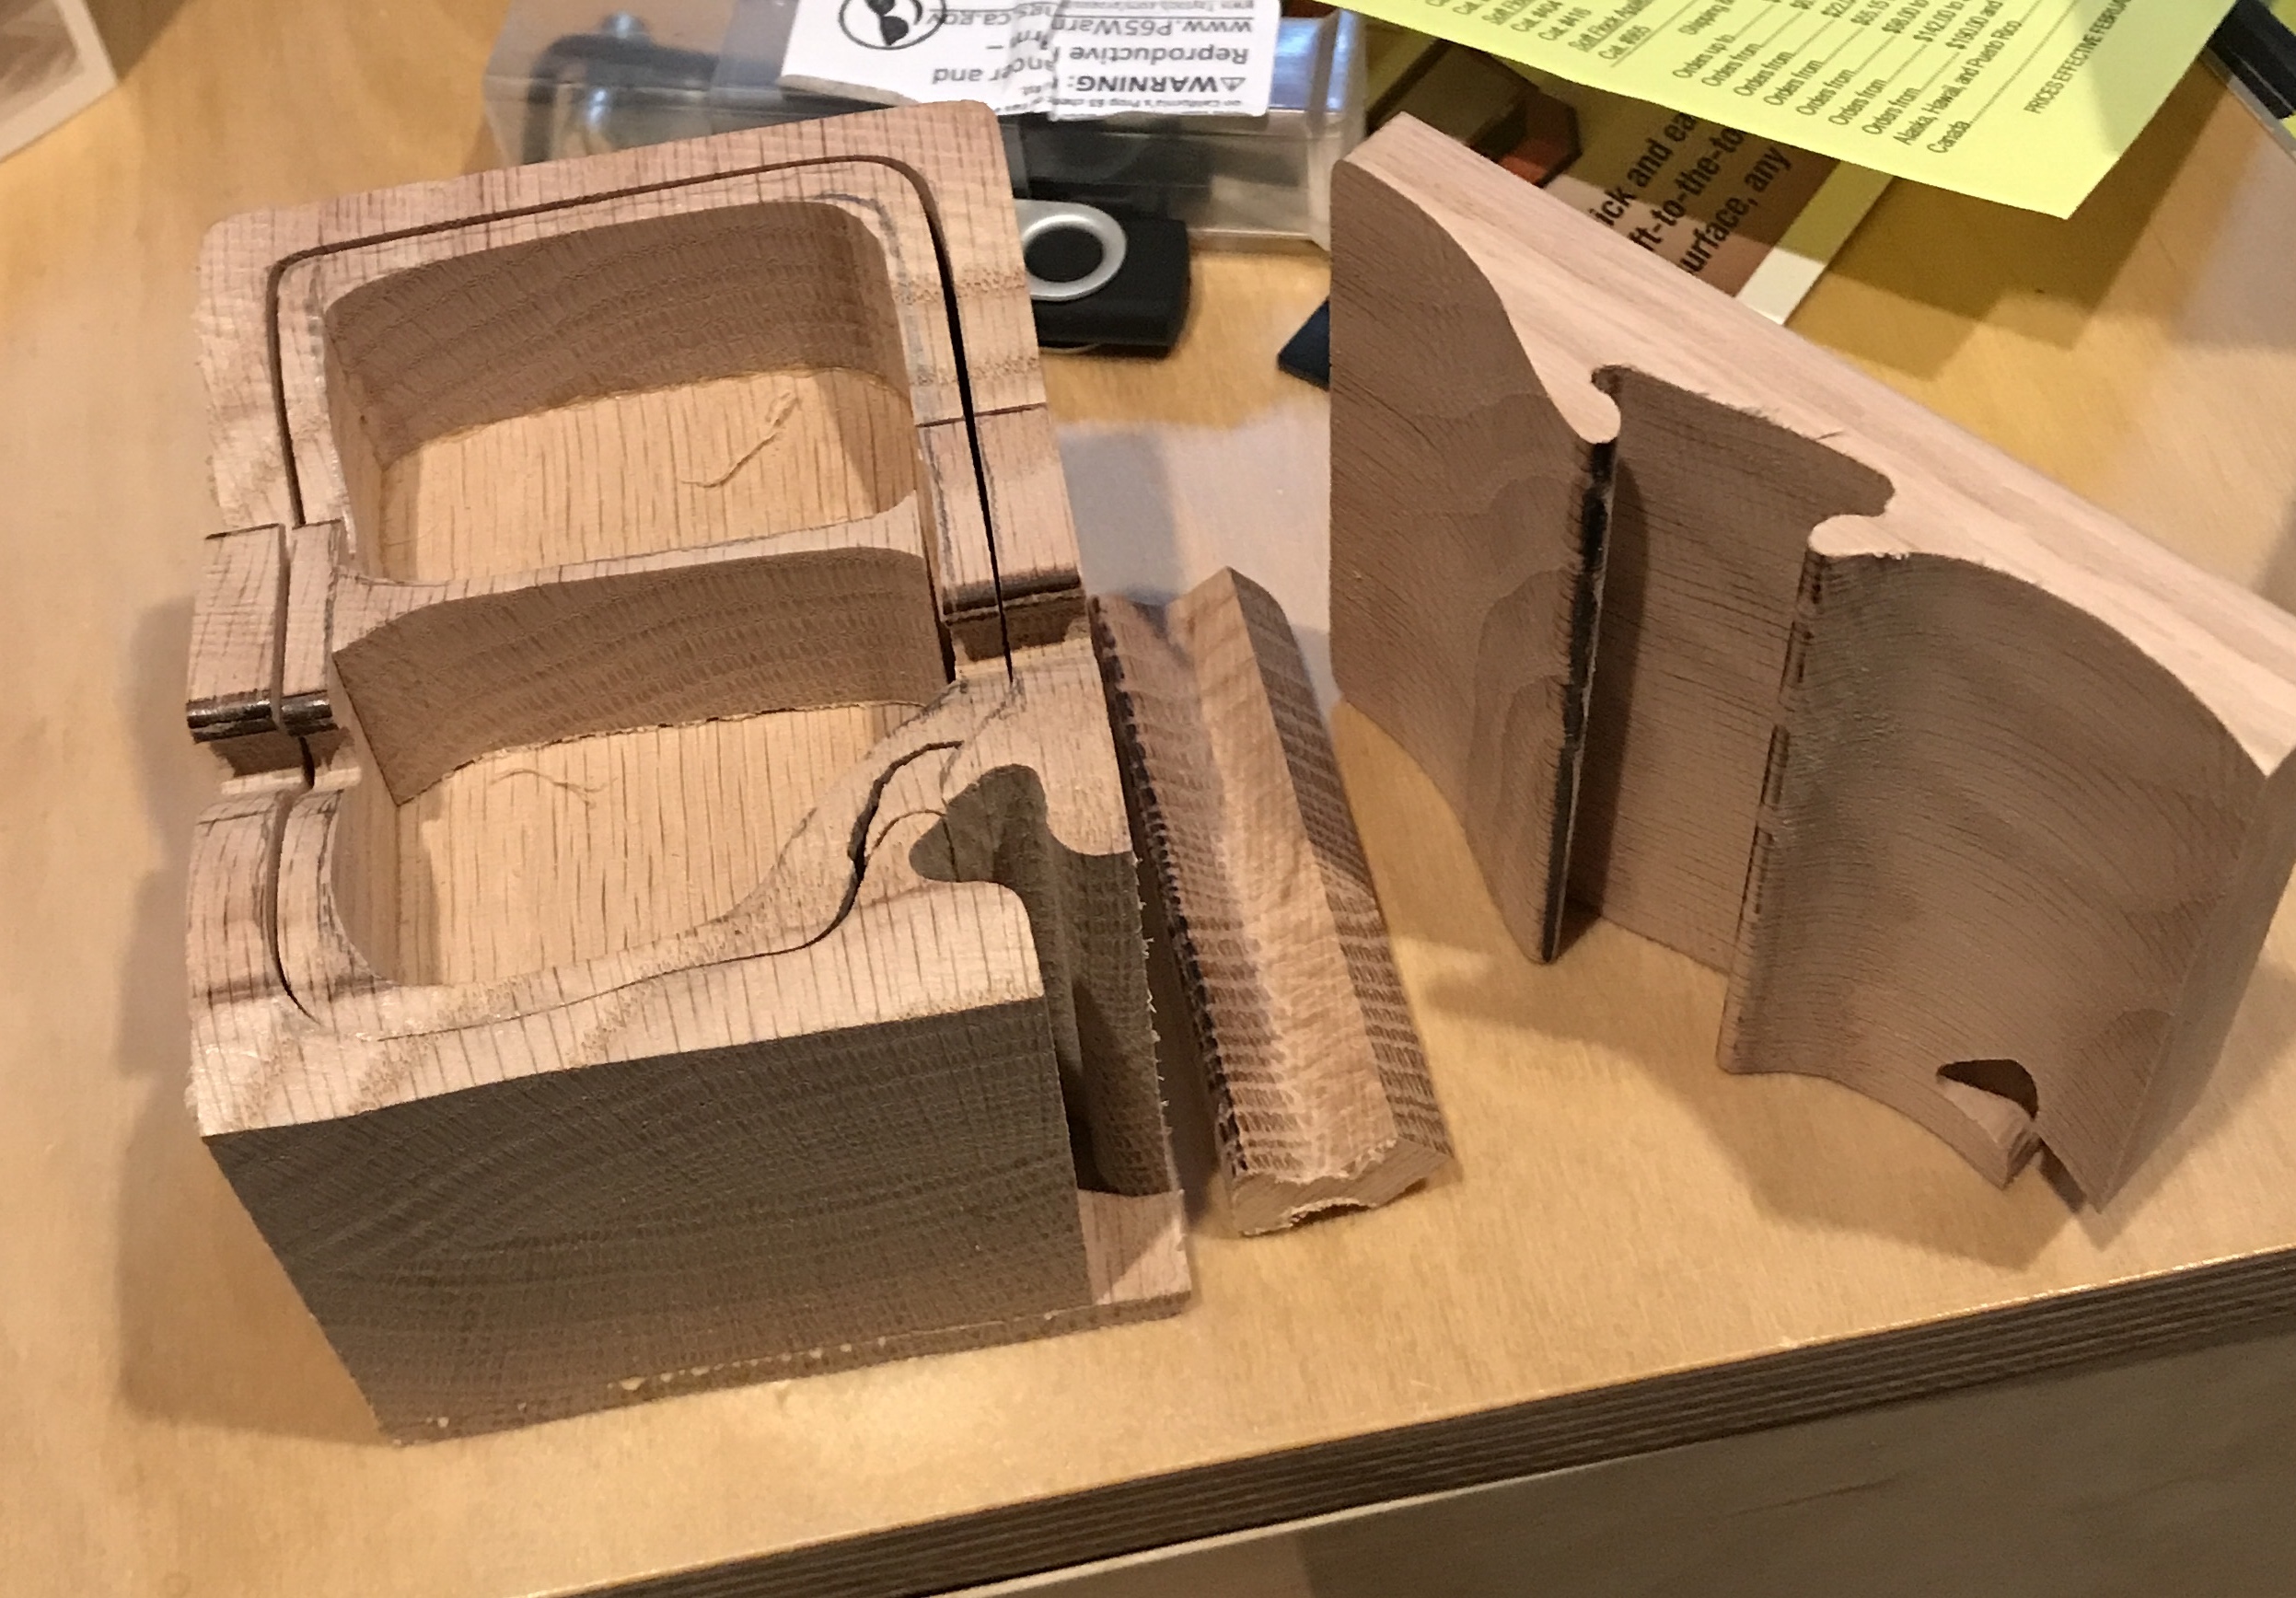
In order to make a 1/8" thick bottom the table saw must be used. My table saw is now covered with a large sheet of MDF used for finishing up some parquetry work. Things are never simple in a tiny work shop. The table saw was set up and a slice of a board was cut off. The slice is about 1/8" thick. After a bit of sanding the bottom was glued to the sides and the front. This is shown in the following photo.

The drawer's top edges were sanded until they sat below the edges of the container. When it slid easily with the top part held on sanding was done. The entire box was sanded and corners rounded on the belt sander. All surfaces were then sanded with 120 and 220 grit paper. The drawer container was glued to the top of this assembly. The divider was glued into this top assembly.
The drawer front needed work as the bottom was only roughly fitted. Excess wood was cut off with a saw. A rasp was used to get rid of most of the rest of the bottom edges. The front was then sanded with 80, 120, and 220 grit paper. The completely sanded drawer front is shown below.
Another issue was discovered. The insert when placed inside the box sat too low by almost 3/16". This is shown in the photo below. The insert rests on supports sitting on the bottom. These supports needed to be made taller. A thin strip of wood was cut from some oak scrap. This was cut to length and then sanded to match the profile of the current supports. Both of these support extensions were clamped in place with glue.

The parts were soaked in a combination of natural and dark walnut Danish oil for five minutes. The larger parts were turned over every minute. The parts were removed from the bath and stood at an angle to drain most of the oil. After ten minutes the parts were wiped of excess oil and left to dry. The instructions on the Danish oil recommend 72 hours before adding a "finish like polyurethane". I will wait until Saturday afternoon before painting with the lacquer.
Three days later the puzzle box was coated with the first coat of lacquer. The lacquer was brushed on in the basement as the garage was only 50°. Two and a half hours later the box was lightly sanded with #0000 steel wool. Oddly some of the surfaces had white marks, almost an efflorescence. I will try to find out what this means before proceeding.
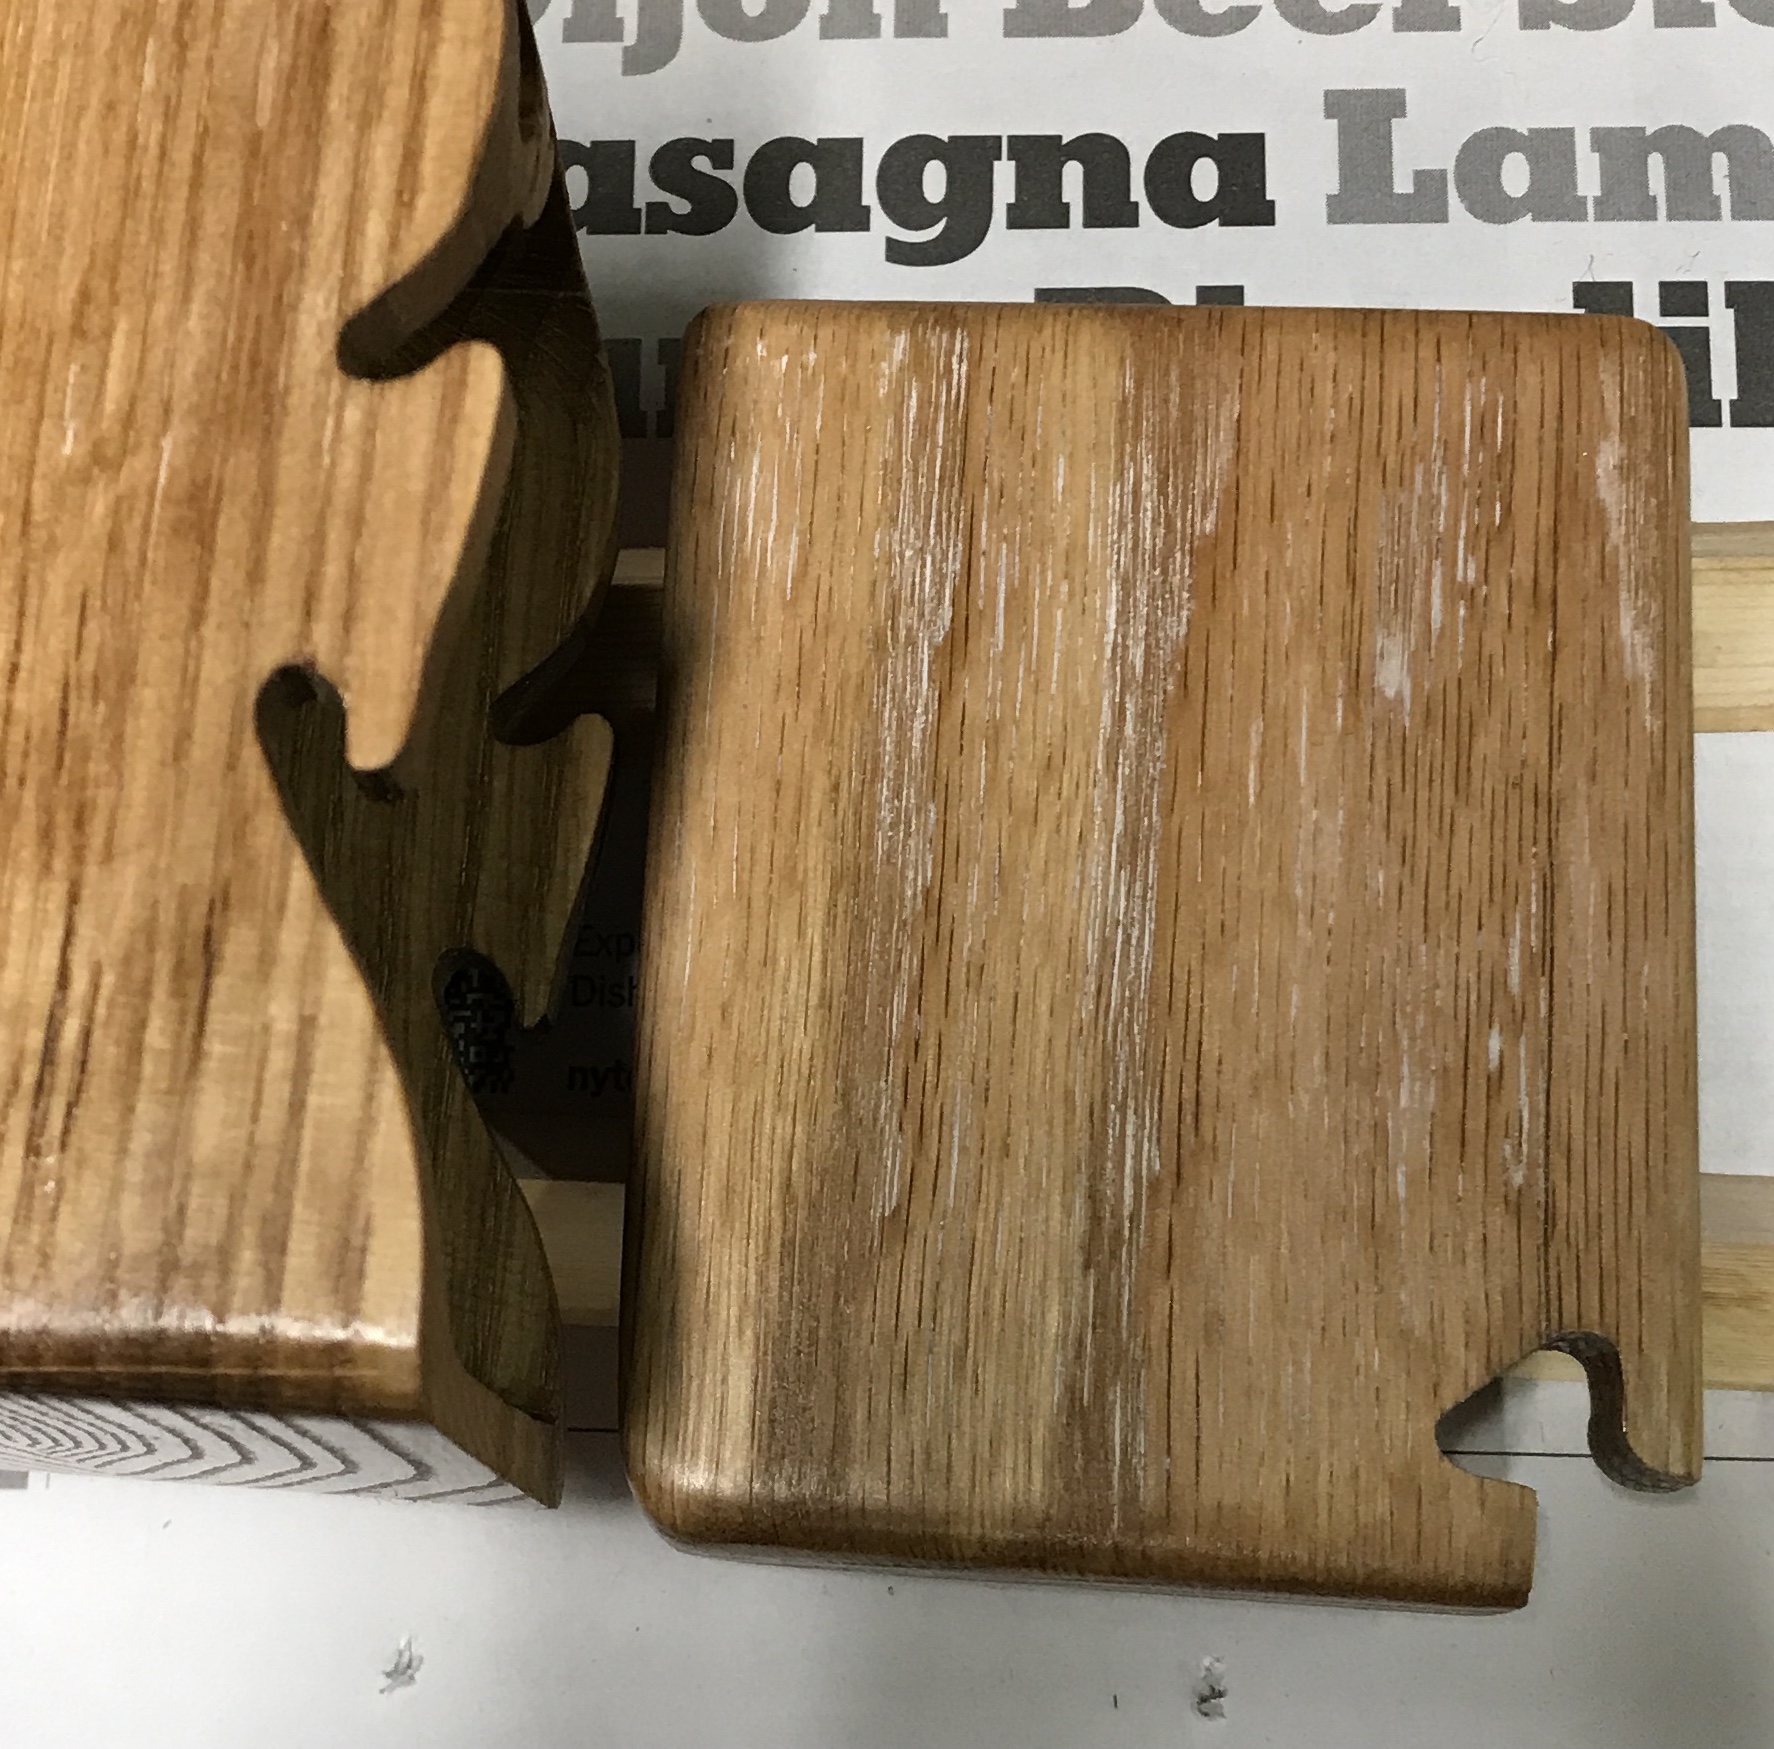
Some lacquer thinner was painted on the affected surfaces. This was sanded off. After drying the same surfaces were repainted with lacquer. We will see what it looks like after drying. That seemed to work. A second coat of lacquer was applied. The box is seen below. Hints of the white bleed through can still be seen.
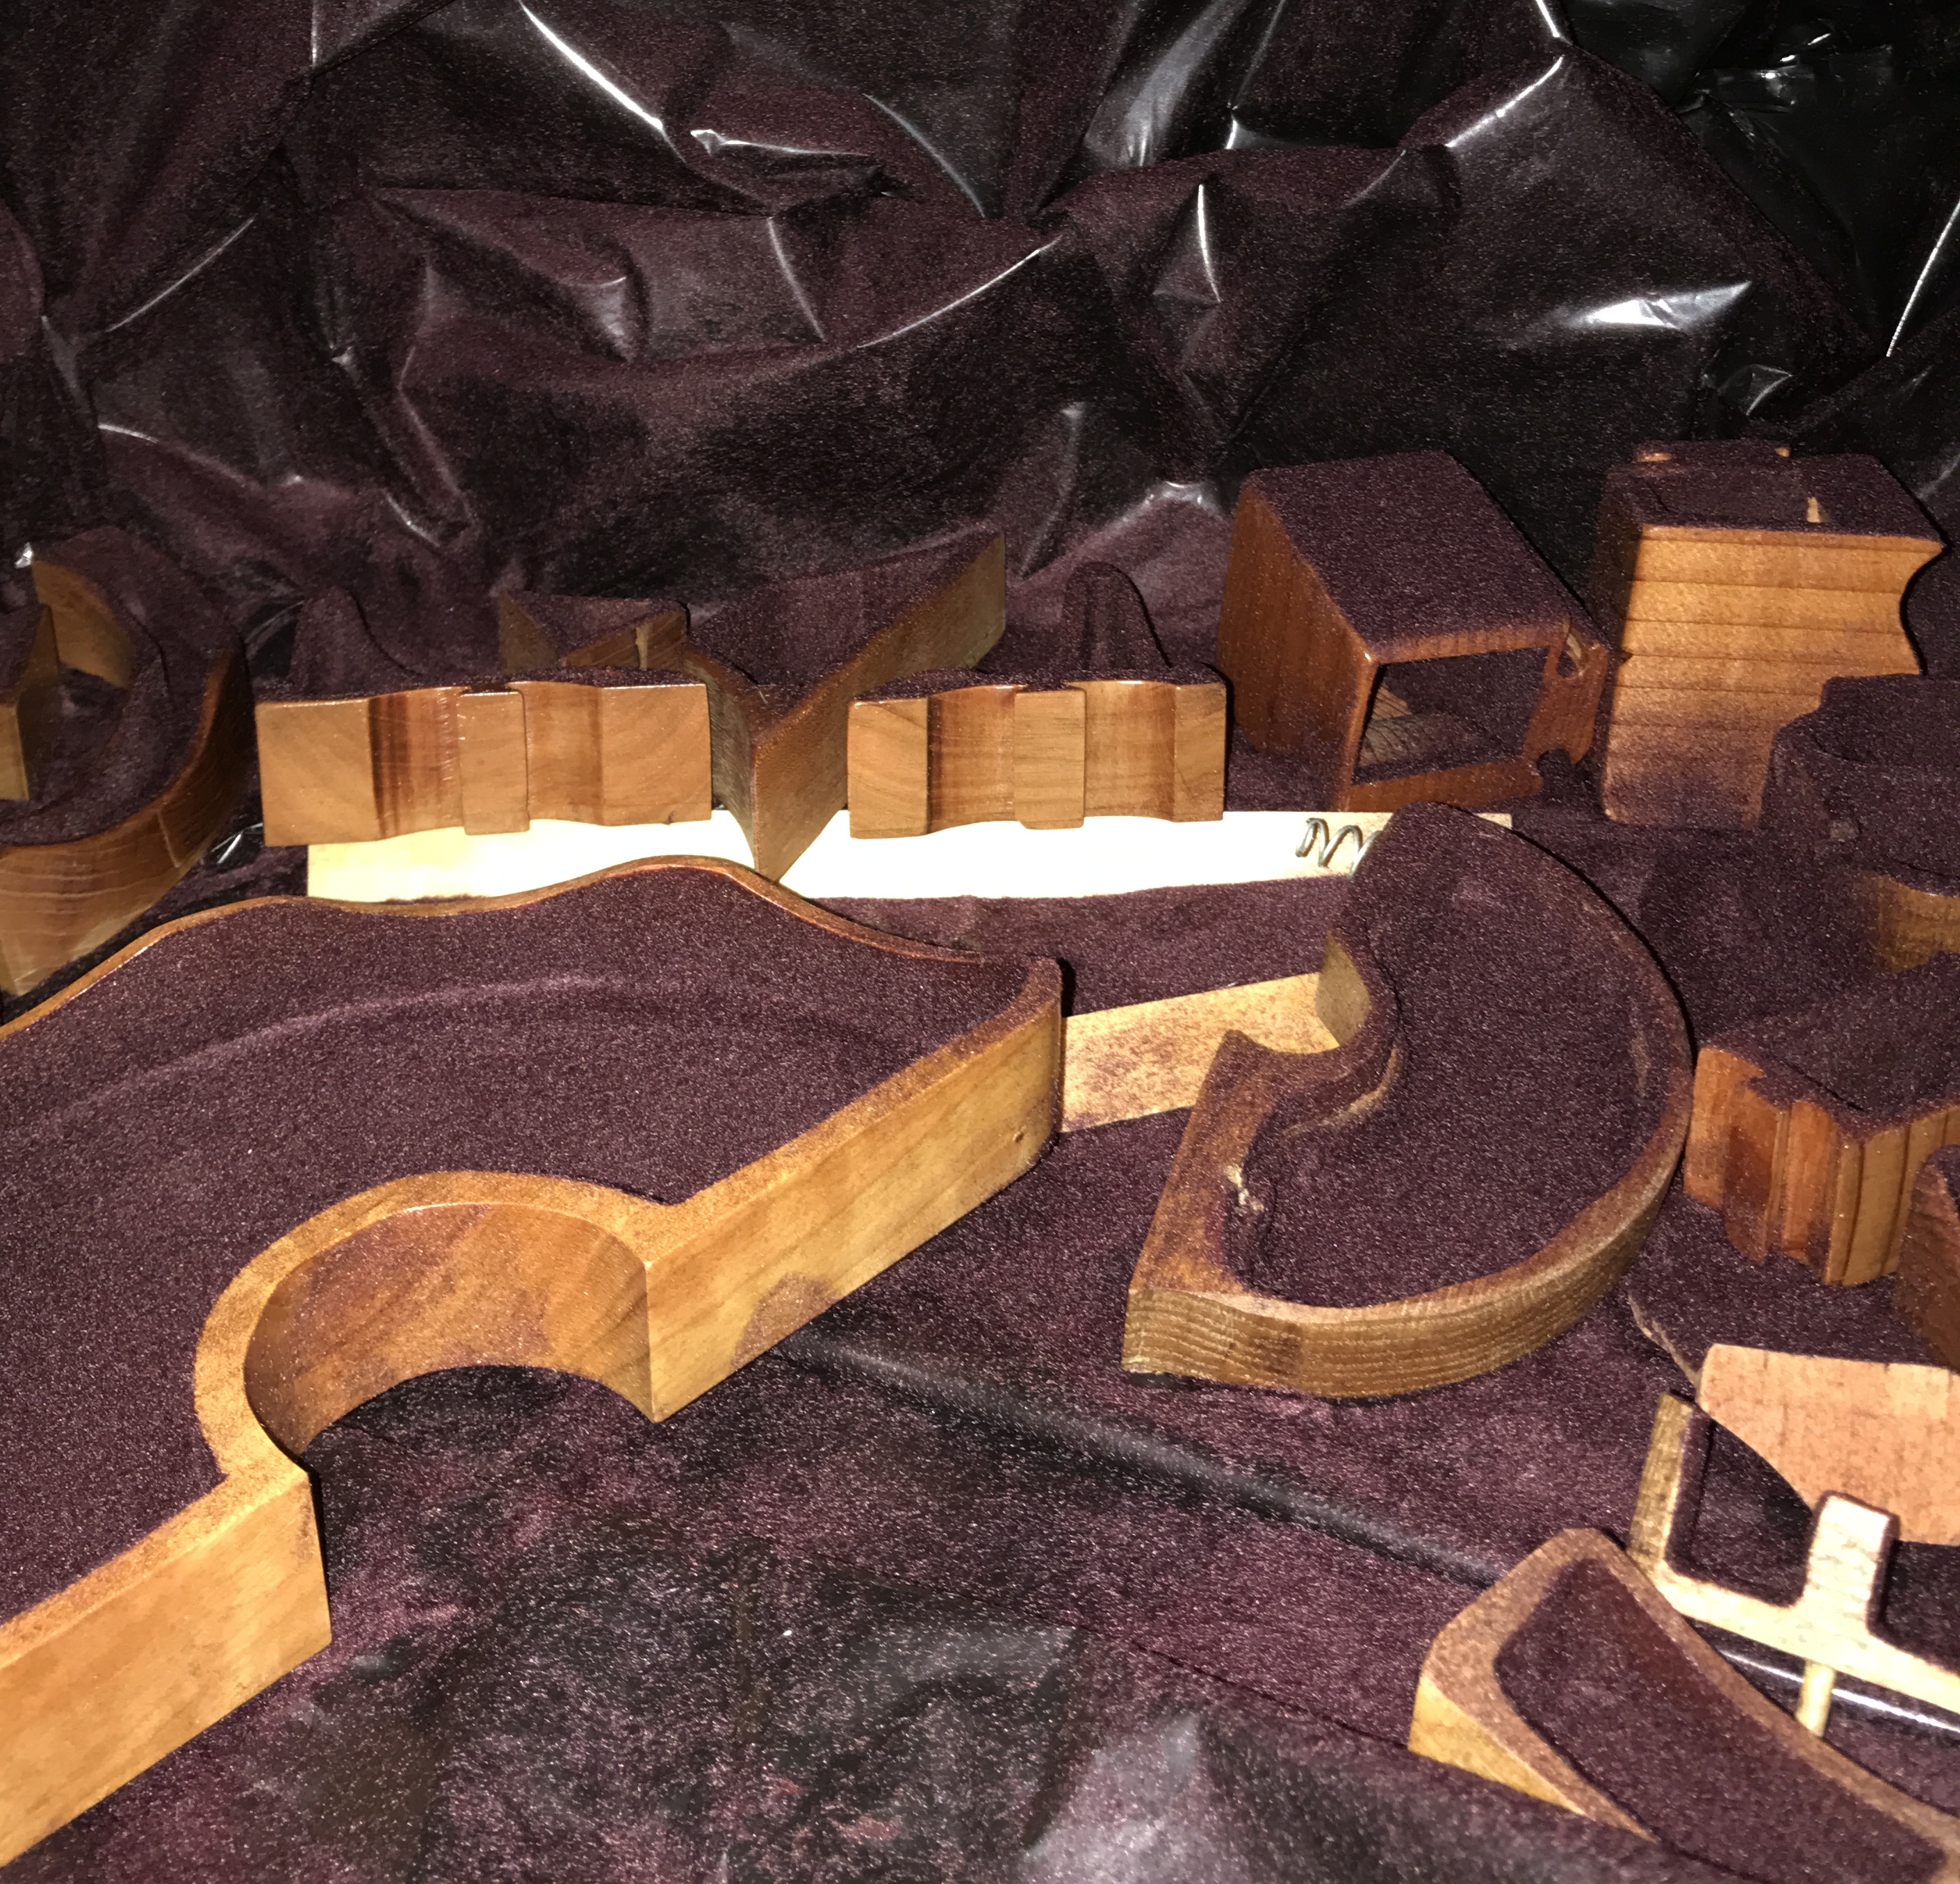
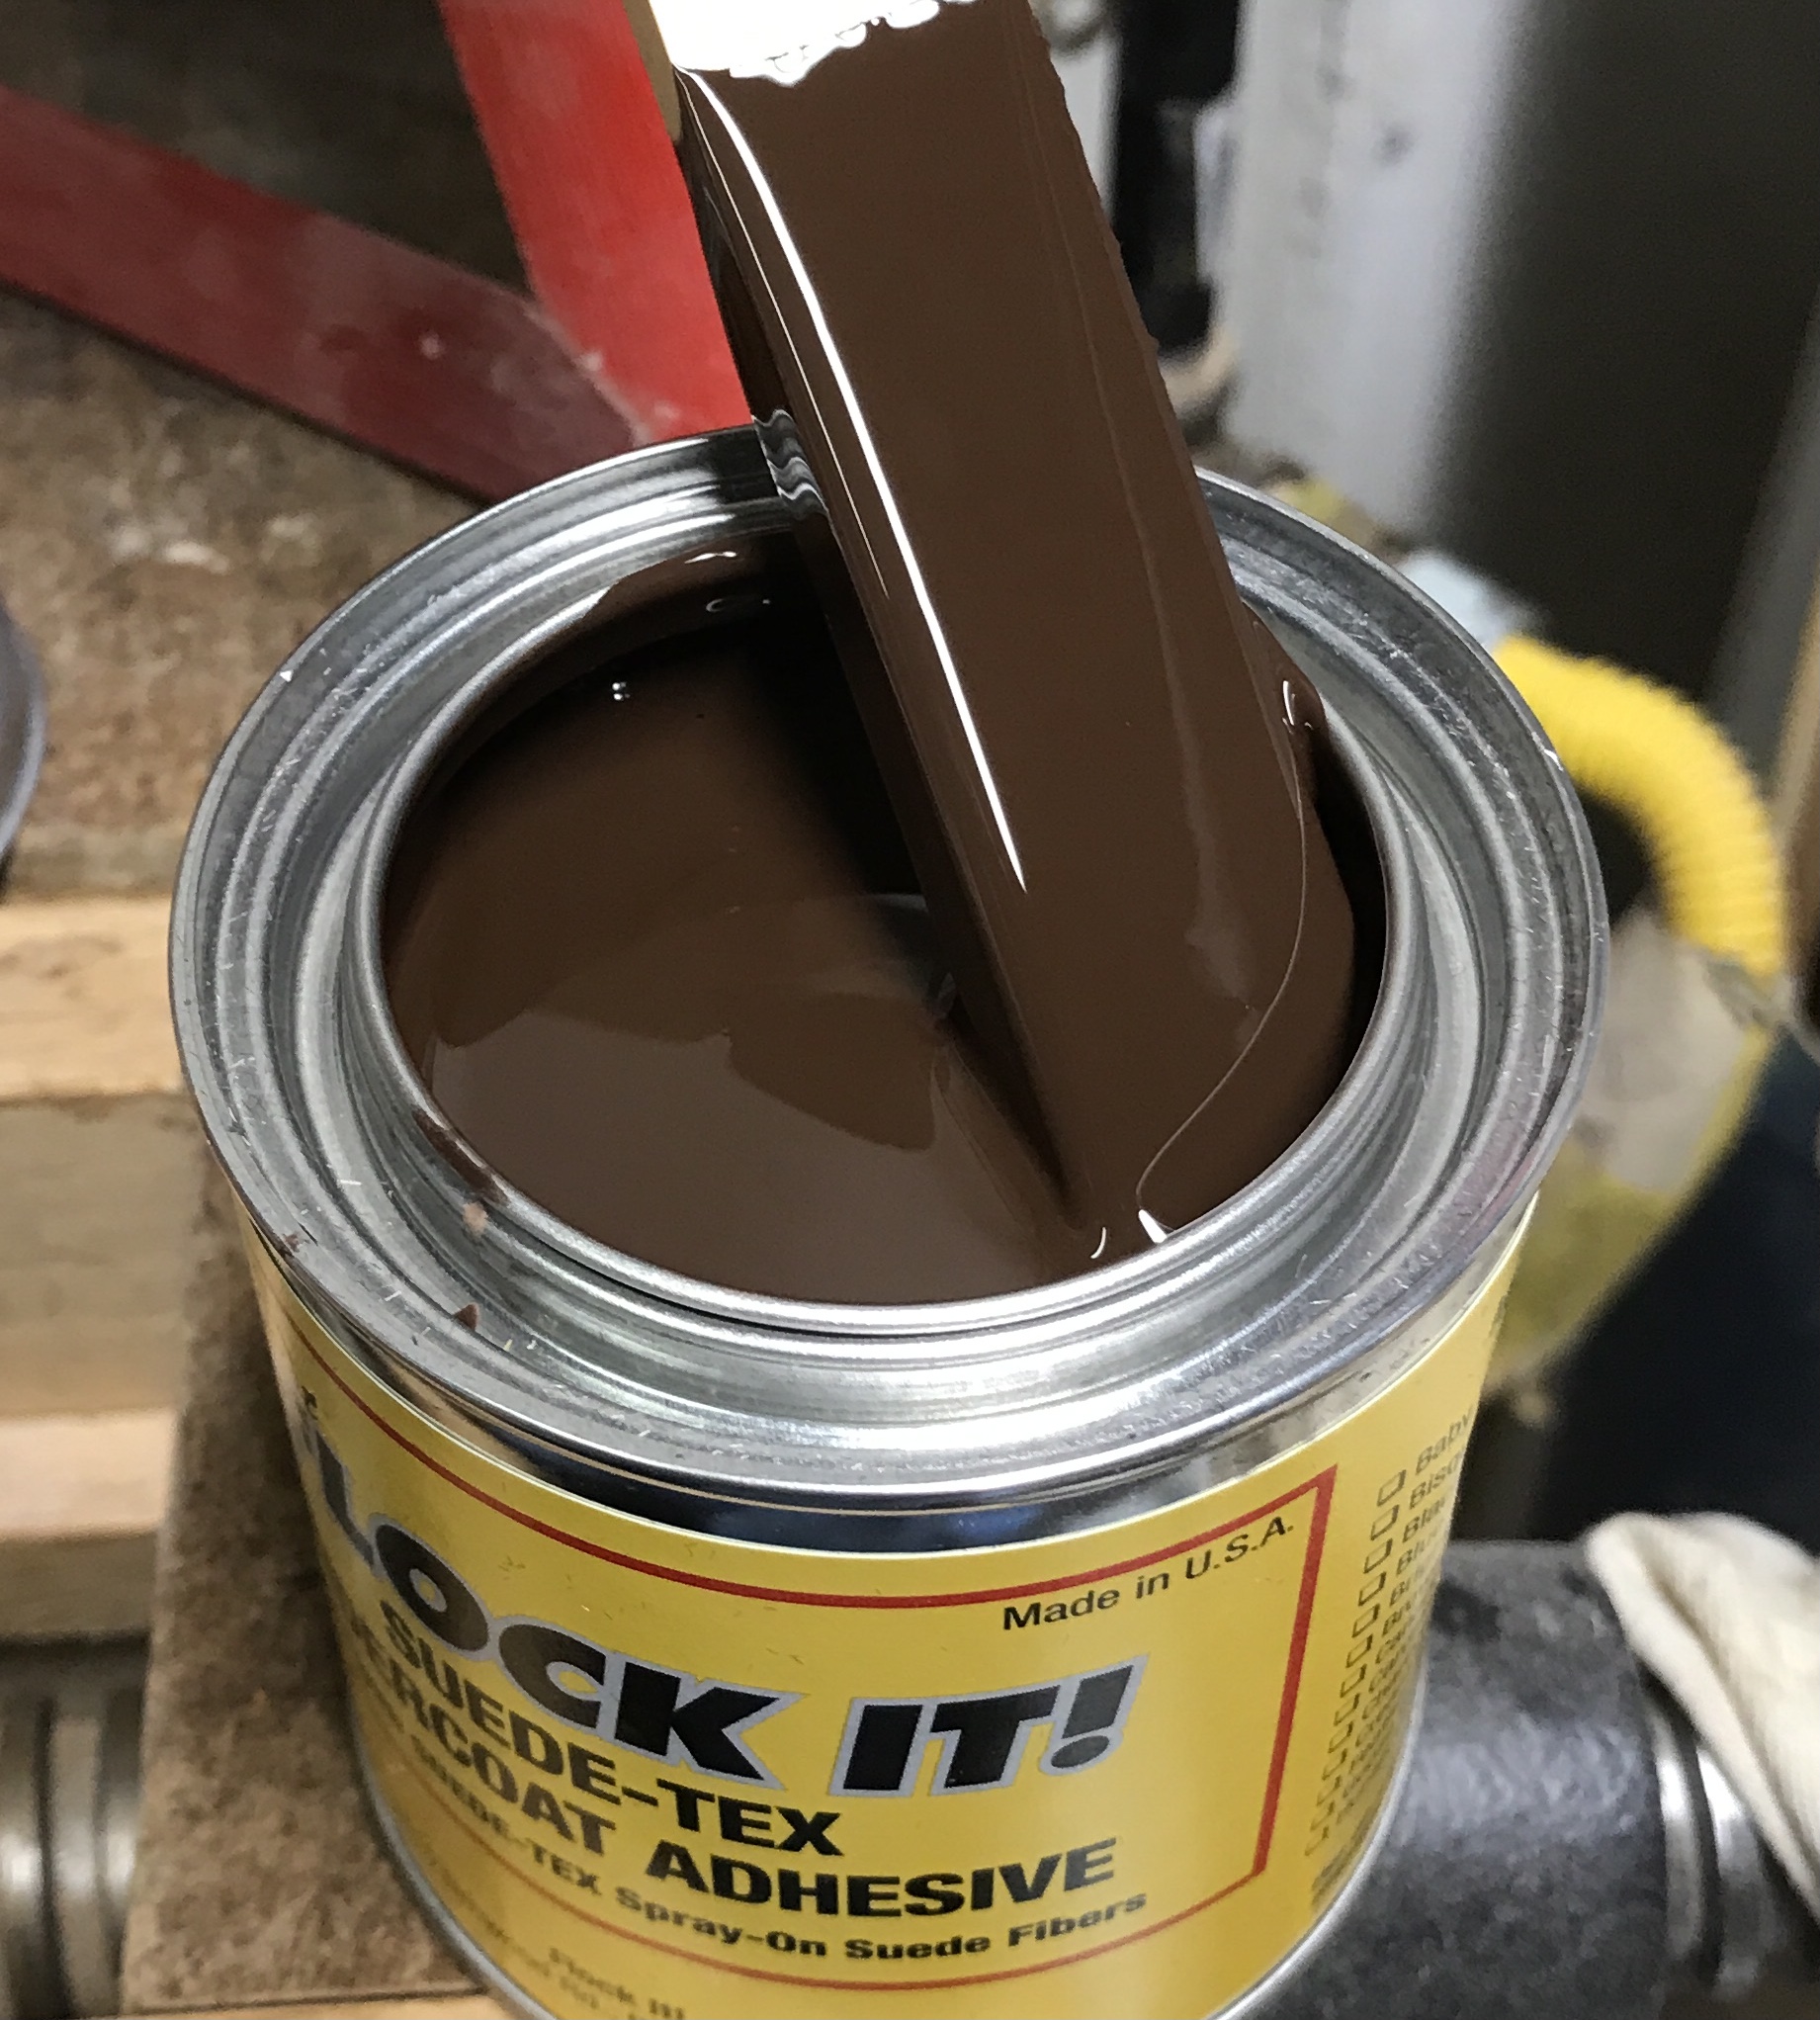
All of the boxes are ready for flocking. There are no more excuses to put this flocking step off. A large cardboard box was taped open and a large leaf bag was held open inside with tape. I purchased two colors of flock: wine and royal blue. I wanted to flock a box for Rhea with royal blue, her favorite color. The glue comes in matching colors. I opened the royal blue glue only to find that it is brown!!! I switched to wine colored flock and its matching glue.
A few parts were done at a time. The parts all needed to have had one coat of finish on the areas to be flocked. The Danish oil soak served that purpose. A very small brush was used to paint glue on the inside of all of the drawers and in a few strategic spots to hide hidden compartments. The few parts were then flocked using the cardboard tube blower. It was fairly straightforward and took about two hours to completely flock all parts for five boxes. All of the parts were inspected to make sure sufficient flock had been applied. The parts are supposed to sit for 7-8 hours before dumping out the excess flock. They should sit for as long as an additional week to ensure the glue is completely dry.